Adventures in the Trade
Taking A Measure of the World
All photos courtesy Jason Nottestad, unless noted
Adventures in the Trade
Taking A Measure of The World
"All photos courtesy Jason Nottestad, unless noted
By Jason Nottestad
Years ago and several jobs ago, when I set up my ETemplate™ kit to shoot an L-shaped kitchen and an island, three Amish gentlemen watched and asked me questions about the process. The Amish, originally a breakaway group of Swiss Anabaptists, prohibit their members from the use of most modern technology. Depending on the particular Amish sect, this can be quite strict. In rural Wisconsin, where my family originates, the Amish don’t use electricity at home or tractors for farming. They make their own clothes, have their own schools, and raise most of their own food. Some sects didn’t have dietary restrictions. An Amish guy I worked with on a barn project had a passion for Funyuns® chips and Mountain Dew. He was tapping the best of America, for sure. The Amish could also ride in cars too, though not own them. As a child, I remember my grandfather driving the Amish into town to work on his garage. They can use gas motors to power woodworking tools. We’d see them at the local auctions buying table saws then ripping off the electric motor and replacing it with a gas-motor belt drive. Because of this, it was very common to see Amish-built cabinets and furniture in the area. By the time I was photo templating in the early 2000s, the Amish community in southwestern Wisconsin was prospering and had moved into many areas of woodworking and construction. The three gentlemen who watched me with the ETemplate had set the log framing for the house, as well as producing the cabinets, trim, and flooring. The quality of Amish product varied, despite the aura of ‘old world craftsmanship’ that surrounded it. I’d seen amazing woodwork from them, and also some real junk … just like you’d expect from the non-Amish (or “English” as they refer to all the rest of us).

Photo by Emerson Schwartzkopf
The Amish in Wisconsin often interact with the modern world, but always on their own terms.
After a pause the oldest spoke up and told me, in a very direct way, that he believed me to be a con man.
These particular gentlemen were true craftsman. Their trim and woodwork was excellent and the cabinets were set straight and level – ideal for a hard-surface installation. They’d also never seen anything like a digital templator. I explained the basics of photogrammetry to them: How each of the marker panels needed to be captured in three photos at differing angles in order for the trigonometry in the software to work. How my red calibrating sticks would determine length, based on the number of pixels in the photographs, and that the camera worked like a satellite does in a GPS system. Then I explained what a GPS system and pixels were. They knew about satellites. I had my computer out and showed them some of the previous projects I’d measured – first the photos, then the CAD drawing, and then pictures of the finished pieces in place. They asked a few questions about the marks on the panels and spoke amongst themselves in the German dialect they most commonly use. After a pause the oldest spoke up and told me, in a very direct way, that he believed me to be a con man. There was no way something like this would work, and that I likely charged the client an excessive amount of money to put on this show. That I probably just measured everything with a tape measure after pretending to use this new technology. I really enjoyed that, to be honest. It wasn’t the standard “Wow, that’s so cool!” reaction I got from homeowners when I digitally templated a kitchen remodel. For us “English,” who took for granted that technology progresses, measuring with photos was not far-fetched. To this Amish gentleman, I was selling digital snake oil. I knew I was not, so a certain stubborn pride to prove my method worked, and worked perfectly, welled up within me. One concept in the Amish religion is the rejection of Hochmut, a kind of arrogance or overarching pride. At that point, I was full of my technological Hochmut. I continued with my process as they observed. Taking photos, downloading, processing, and finally coming up with dots on a screen in AutoCAD®. I connected the dots to give myself walls and cabinets fronts and pulled CAD measurements on them so they could see what the software had produced. I then got out my tape measure to verify measurements. Seeing the tape measure was all the elder Amish man needed to declare himself correct to his subordinates. Never mind that the system had given me the numbers. To him, that was smoke and mirrors for my tape measure. The tops, I assured them, would be cut from my CAD drawing and would fit perfectly. He was not convinced. I don’t think I’ve ever been so excited to install countertops as I was for that job, just to prove I was right. Hochmut.
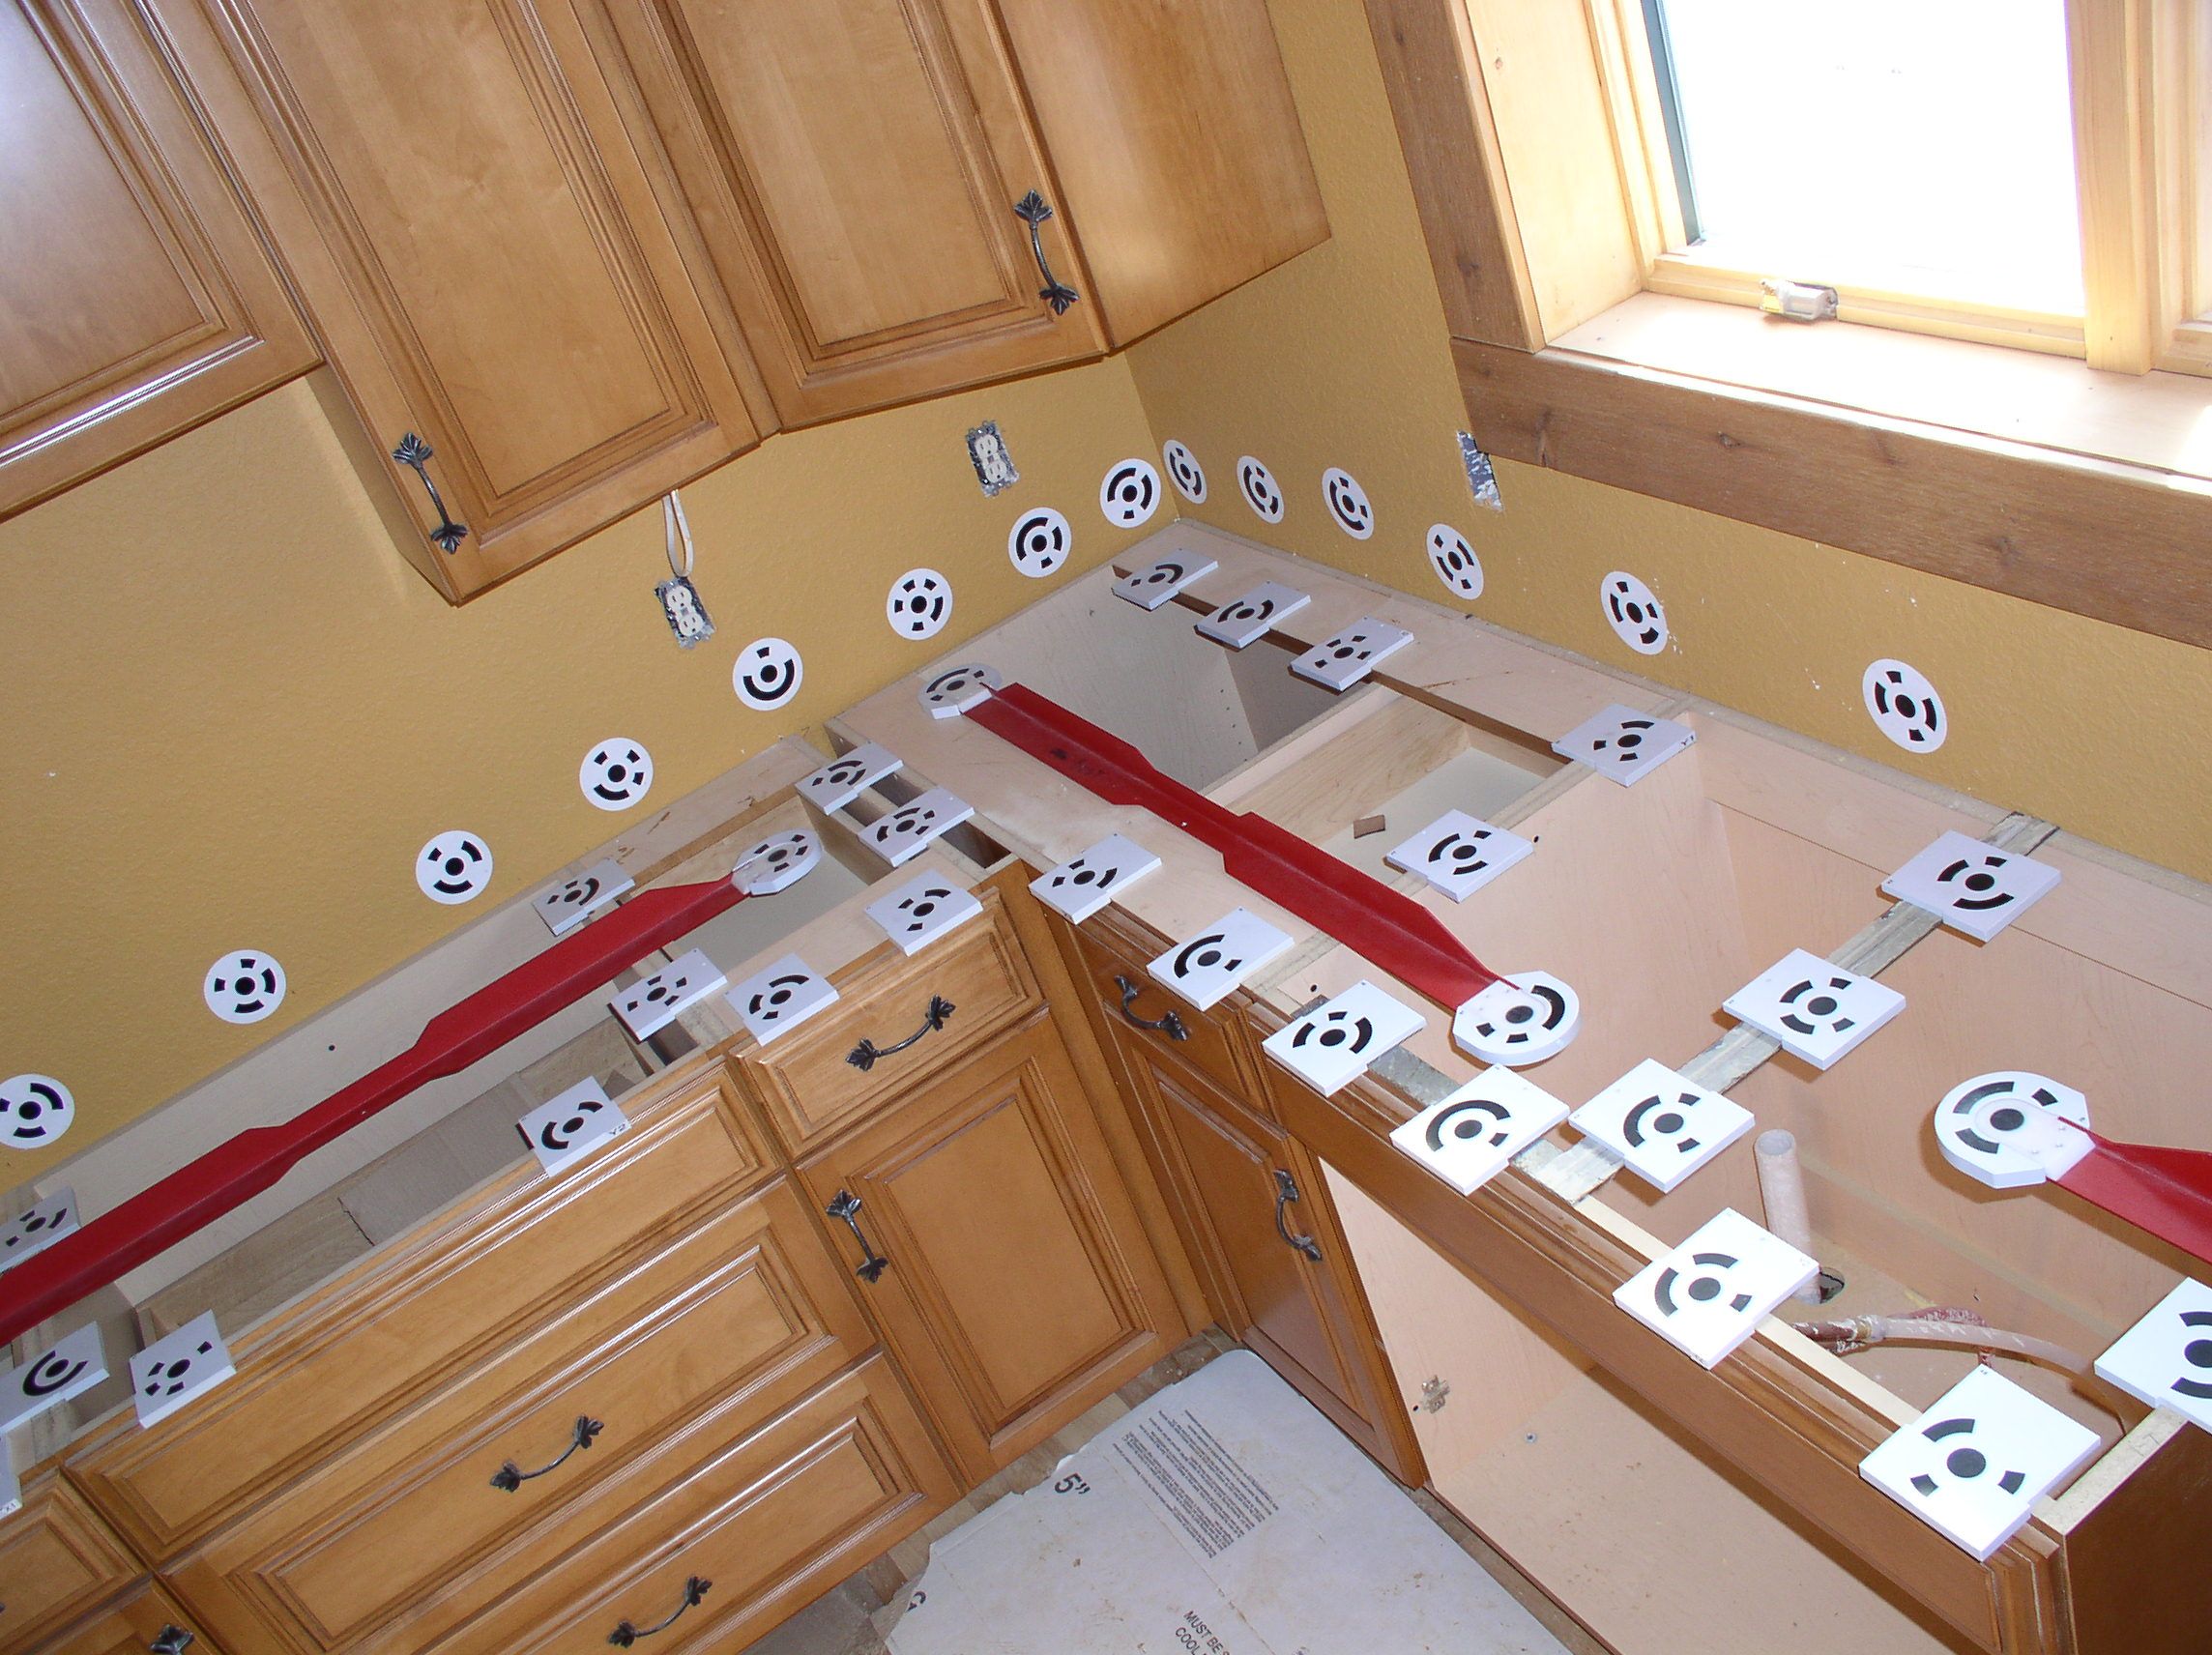
To the Amish, this ETemplate setup represented only sleight-of-hand to fool and swindle the unsuspecting ...

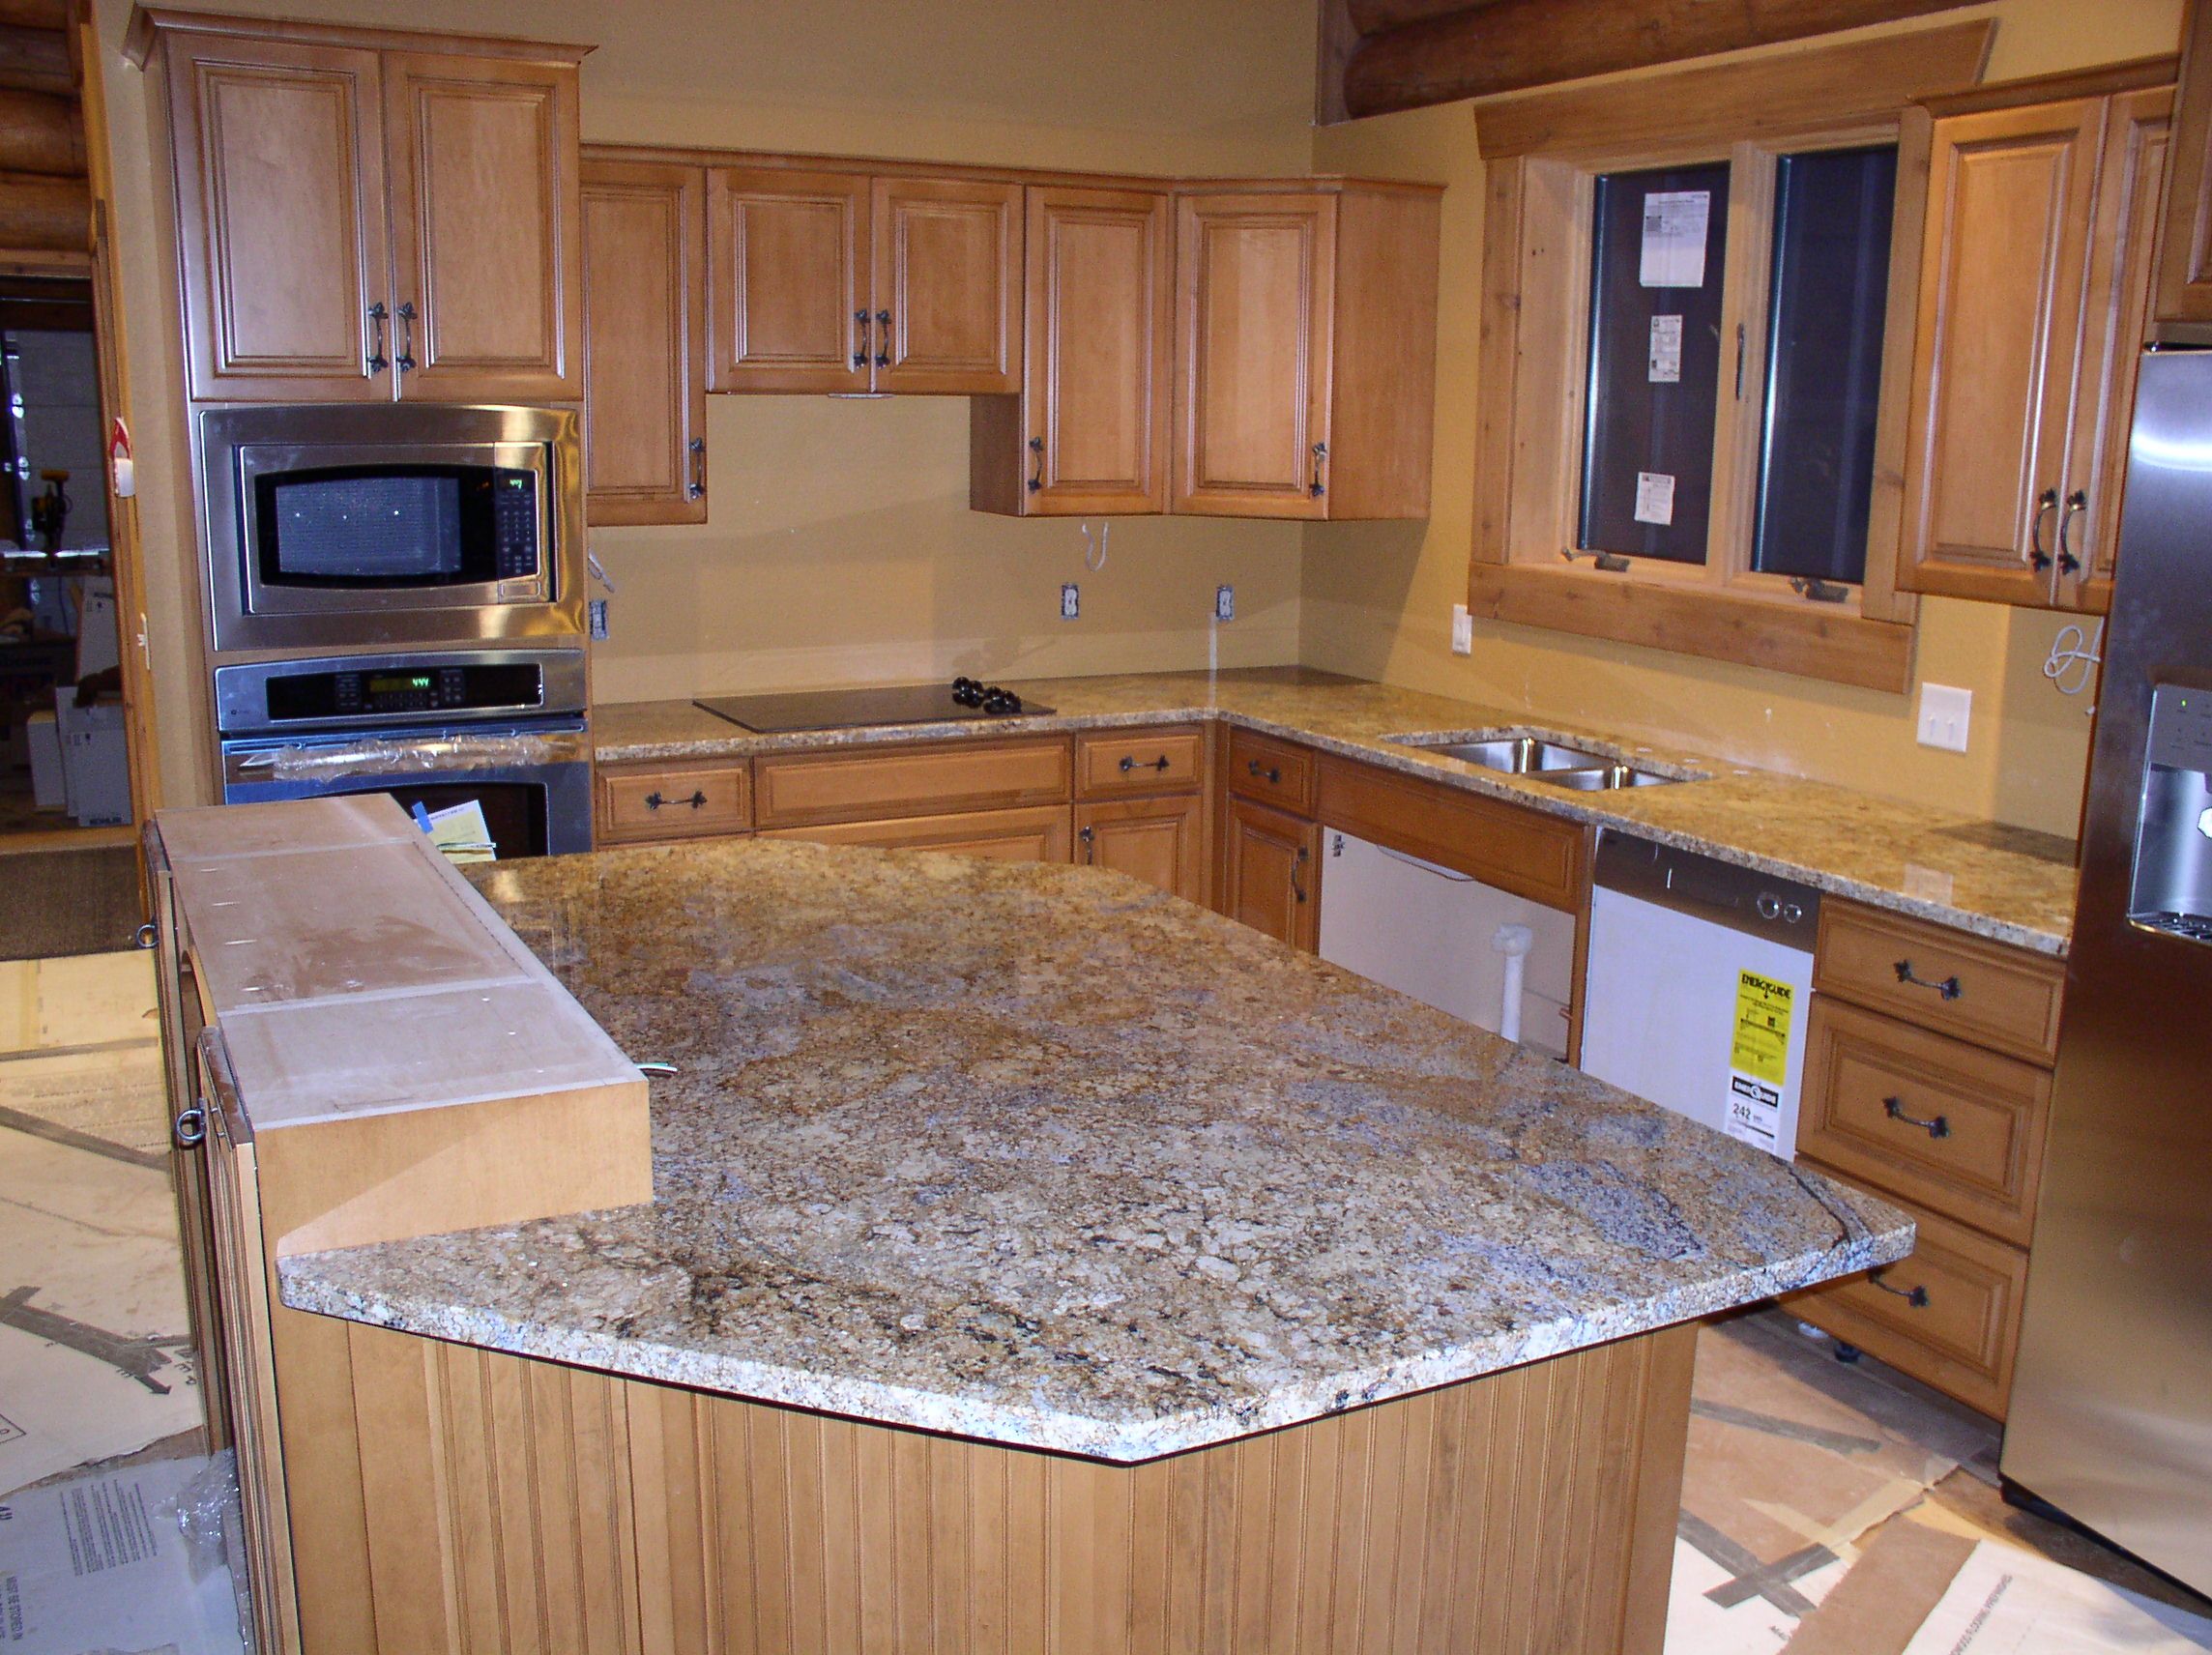
... but it worked.
For walls that need to be scribed, stick templating was never a great method.
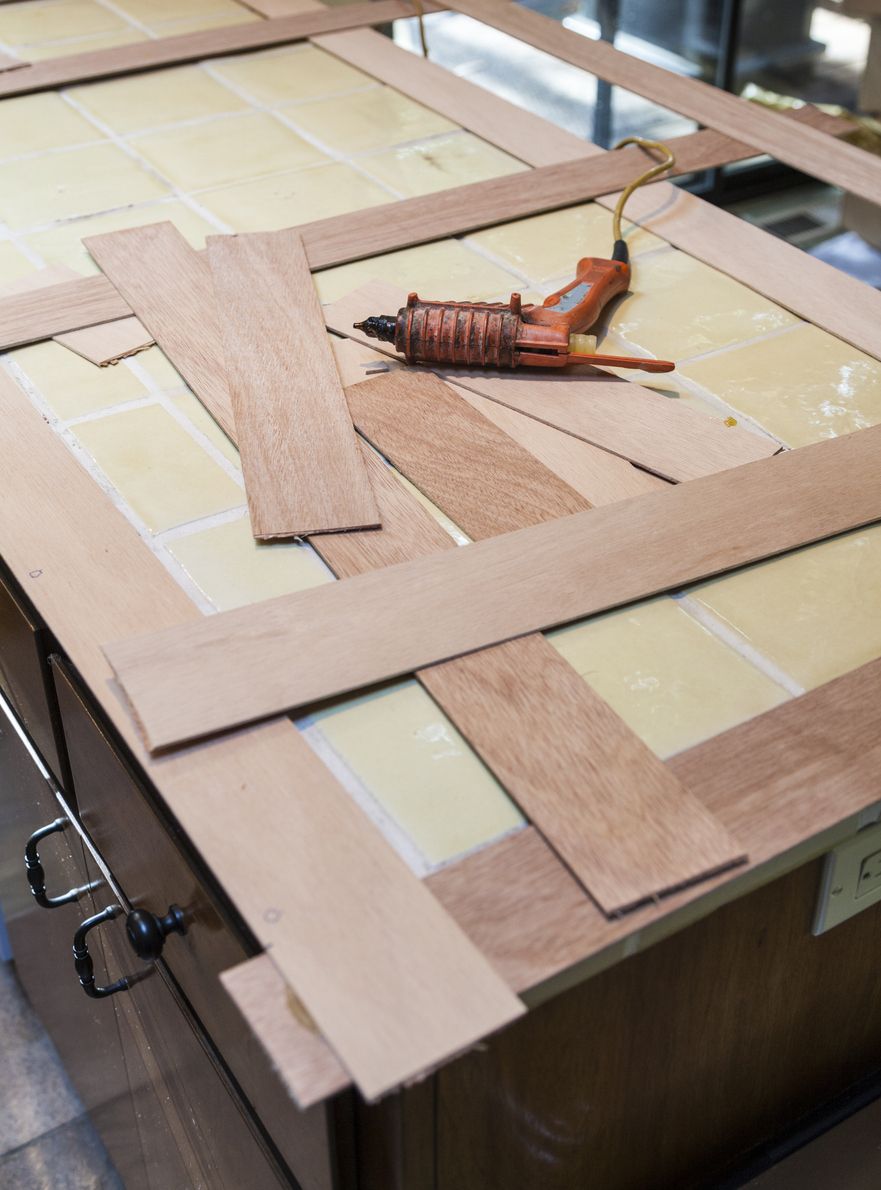
Photo by Bill Oxford/iStone
Stick templating remains the standard in plenty of fabrication shops.
Like most people who began working with hard-surface countertops in the 1990s, I didn’t start out templating digitally. At the first countertop company I worked for, we used sheets of 1/8” hardboard for templates. The sheets were cut down to be oversized of the final piece size. The backs were scribed as needed, and then the cabinet fronts were traced onto the bottom of the hardboard. When we got back to the shop, overhangs were added to the cabinet lines and the hardboard was cut to final size. The boards were then laid on top of the slab and the corners of the pieces were duct-taped. Cut lines were drawn on them. The blade of the saw was then moved back and forth over these pieces until it was in line, and the cut was made. The saw table was then rotated until the next cut was lined up, and it was locked into place for the cut. Scribes and sinks were all done by hand. It was effective, even if the full sheets were a little unwieldly. They were difficult to transport if you were doing both an install and template. And if they got wet, they swelled and deformed. My next templating experience was with so called stick templating, since it involved sticks of cut wood or plastic hot-glued together to form the countertop shape. Most of the sticks were cut to a 2¼” width, so you could line up one side of the stick on the back of the ¾” cabinet rail and you’d have an 1 ½” overhang on the front. Stick templating has never really gone away- it’s the templating method of choice for many non-digital stone shops, and it can be done accurately. But for walls that need to be scribed, it was never a great method. With the popularity of tile backsplash, stick templates lack the necessary accuracy. Sticks, by their very nature, capture rectangles well. When designs get more complex, especially as curves are added in, stick templates quickly fall behind.
My father bought a hospital-type gurney with folding legs to mount the plotter for mobile use.
I first encountered digital templating in 2003 at one of the stone tradeshows I attended with my father. He already had a history with photo technology, albeit in putting together a system for a chemical company to track the movement of sprayed roaches in a box to see how long they survived. He also had more of an entrepreneurial spirit than me, and when we saw the ETemplate photo system, he imagined a business creating digital templates for countertop companies. We purchased the system along with a plotter. I took a three-day course in ETemplate measuring and AutoCAD® and we were in business. I took the ETemplate kit back to my parent’s house and we templated a bathroom. It worked on the second try. My learning curve. 2003 was a transitional period for the countertop industry. Many companies we called on were interested in digital templating, but they lacked the equipment to cut from a digital file. For those companies, Mylar® templates were the solution. They could take advantage of the accuracy of digital templating while still cutting manually. The process of creating those Mylar templates was the problem. At first, we shot the photos and then processed the job at the office. We’d plot out the templates and bring them back to the jobsite to double check. But this was inefficient, as it meant two trips and two appointments with the customer. Because the plotter was rather large, we didn’t know if we could easily transport it. My father came up with the idea to buy a hospital-type gurney with the folding legs to which we mounted the plotter. And just like that, the plotter wound up in the back of a Subaru Outback. The plotter could be rolled inside and the processing and plots could be done at the jobsite. This was more-efficient, but it was still not the best. The plotter took up quite a bit of room and some customers didn’t want it in their house. Also, the gurney had small wheels and battled the Wisconsin weather conditions. It would have been a sad and expensive day to watch it fall over into a snowbank. The solution was a different vehicle: a full-sized van with two rows of removable seats in the back. With a little engineering, the plotter was attached to the metal hooks where the second row of seats went. With that, we could template, plot, and test-fit the plots while we were still at the jobsite. As a sub-contract template company, this worked well. We were asked if we could install, and soon we added installation to our services. Eventually we became a different type of countertop company. My father would sell the jobs. I would then digitally template them and send them off as a CAD drawing file to a fabricator well suited to digital stone cutting (KG Stevens in Milwaukee). When the job was ready, we’d pick it up and install it. With this process, digital templating shined. When you trust the system you are using, and don’t feel the need to create a physical template, the efficiency of digital templating is apparent.
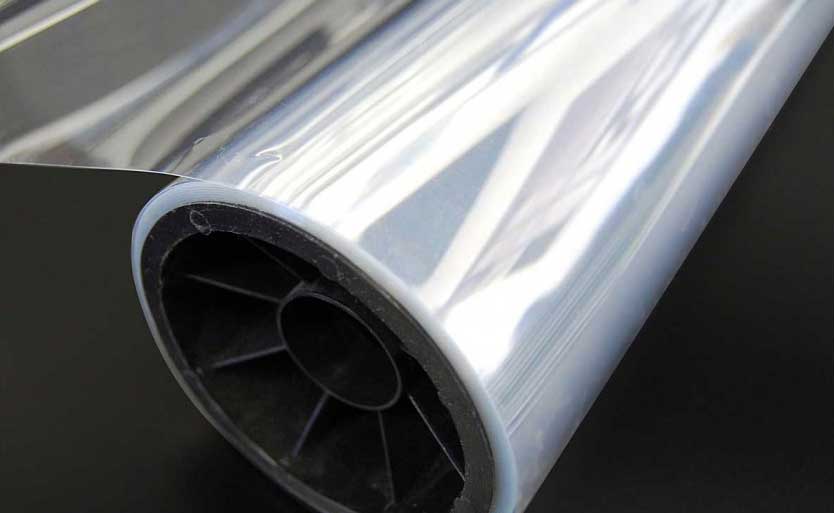
Creating templates from Mylar® film called for some creativity ...
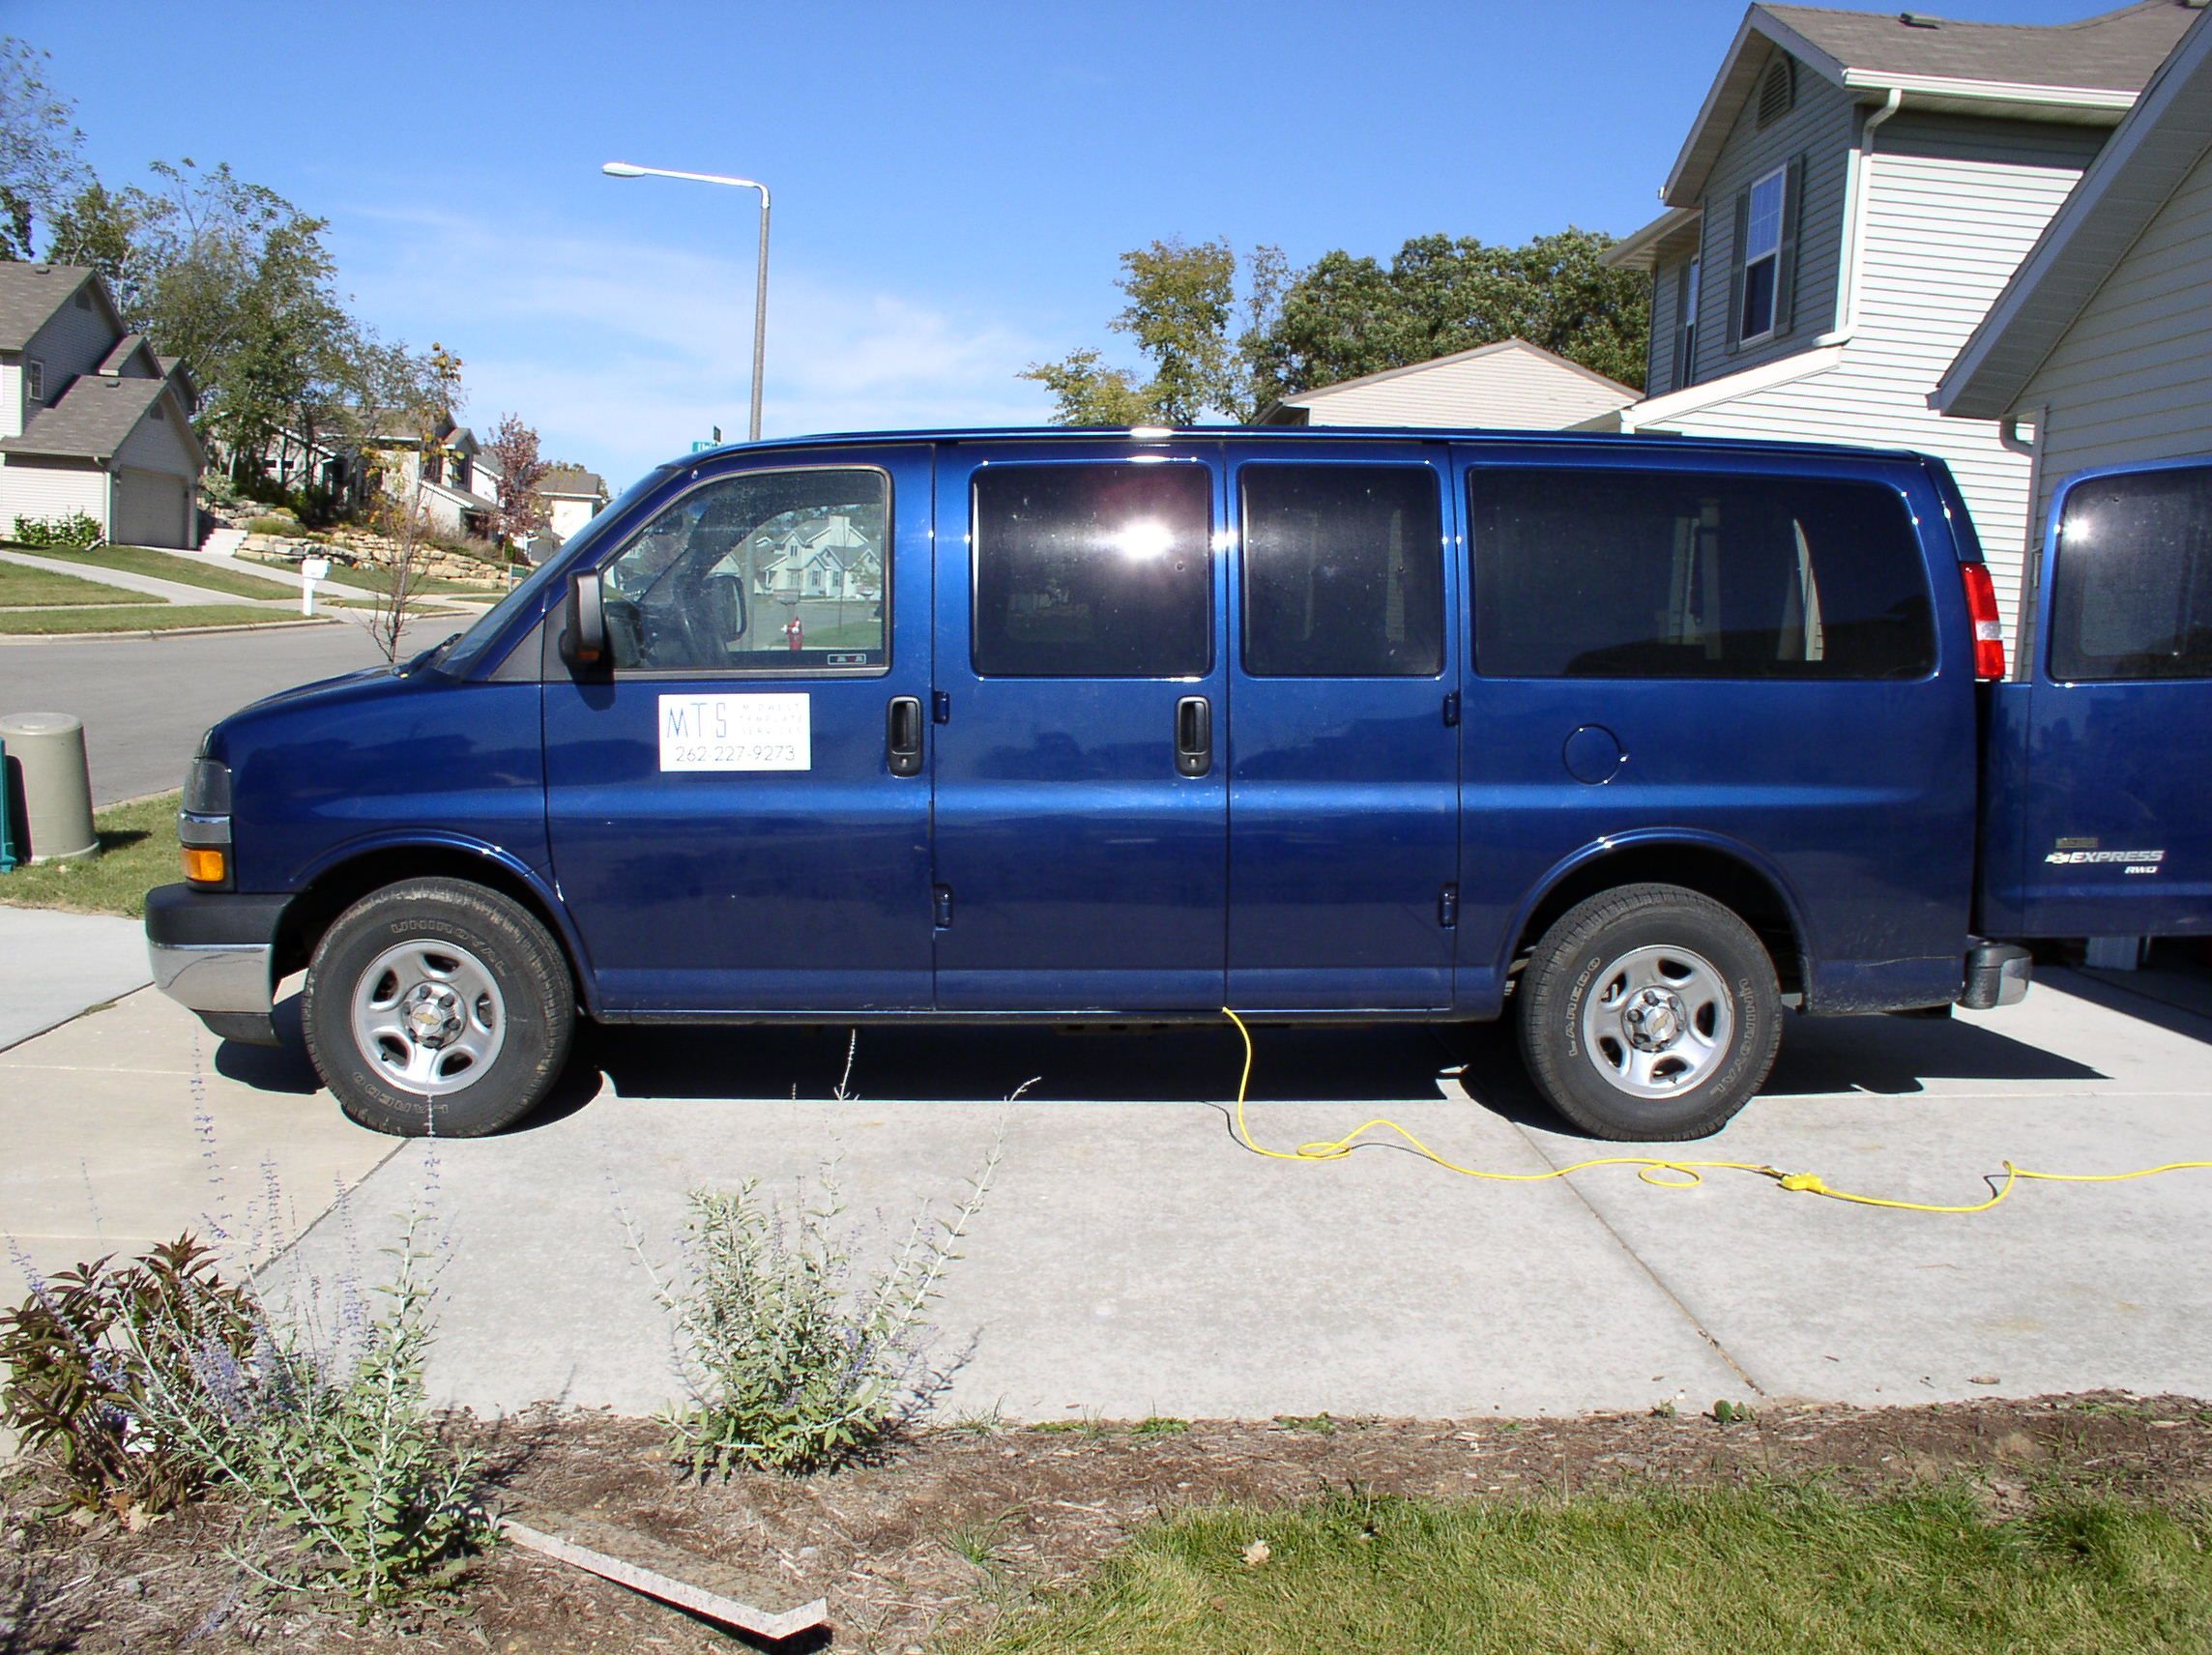
... as we ended up installing a CAD plotter-to-go in a full-sized van.
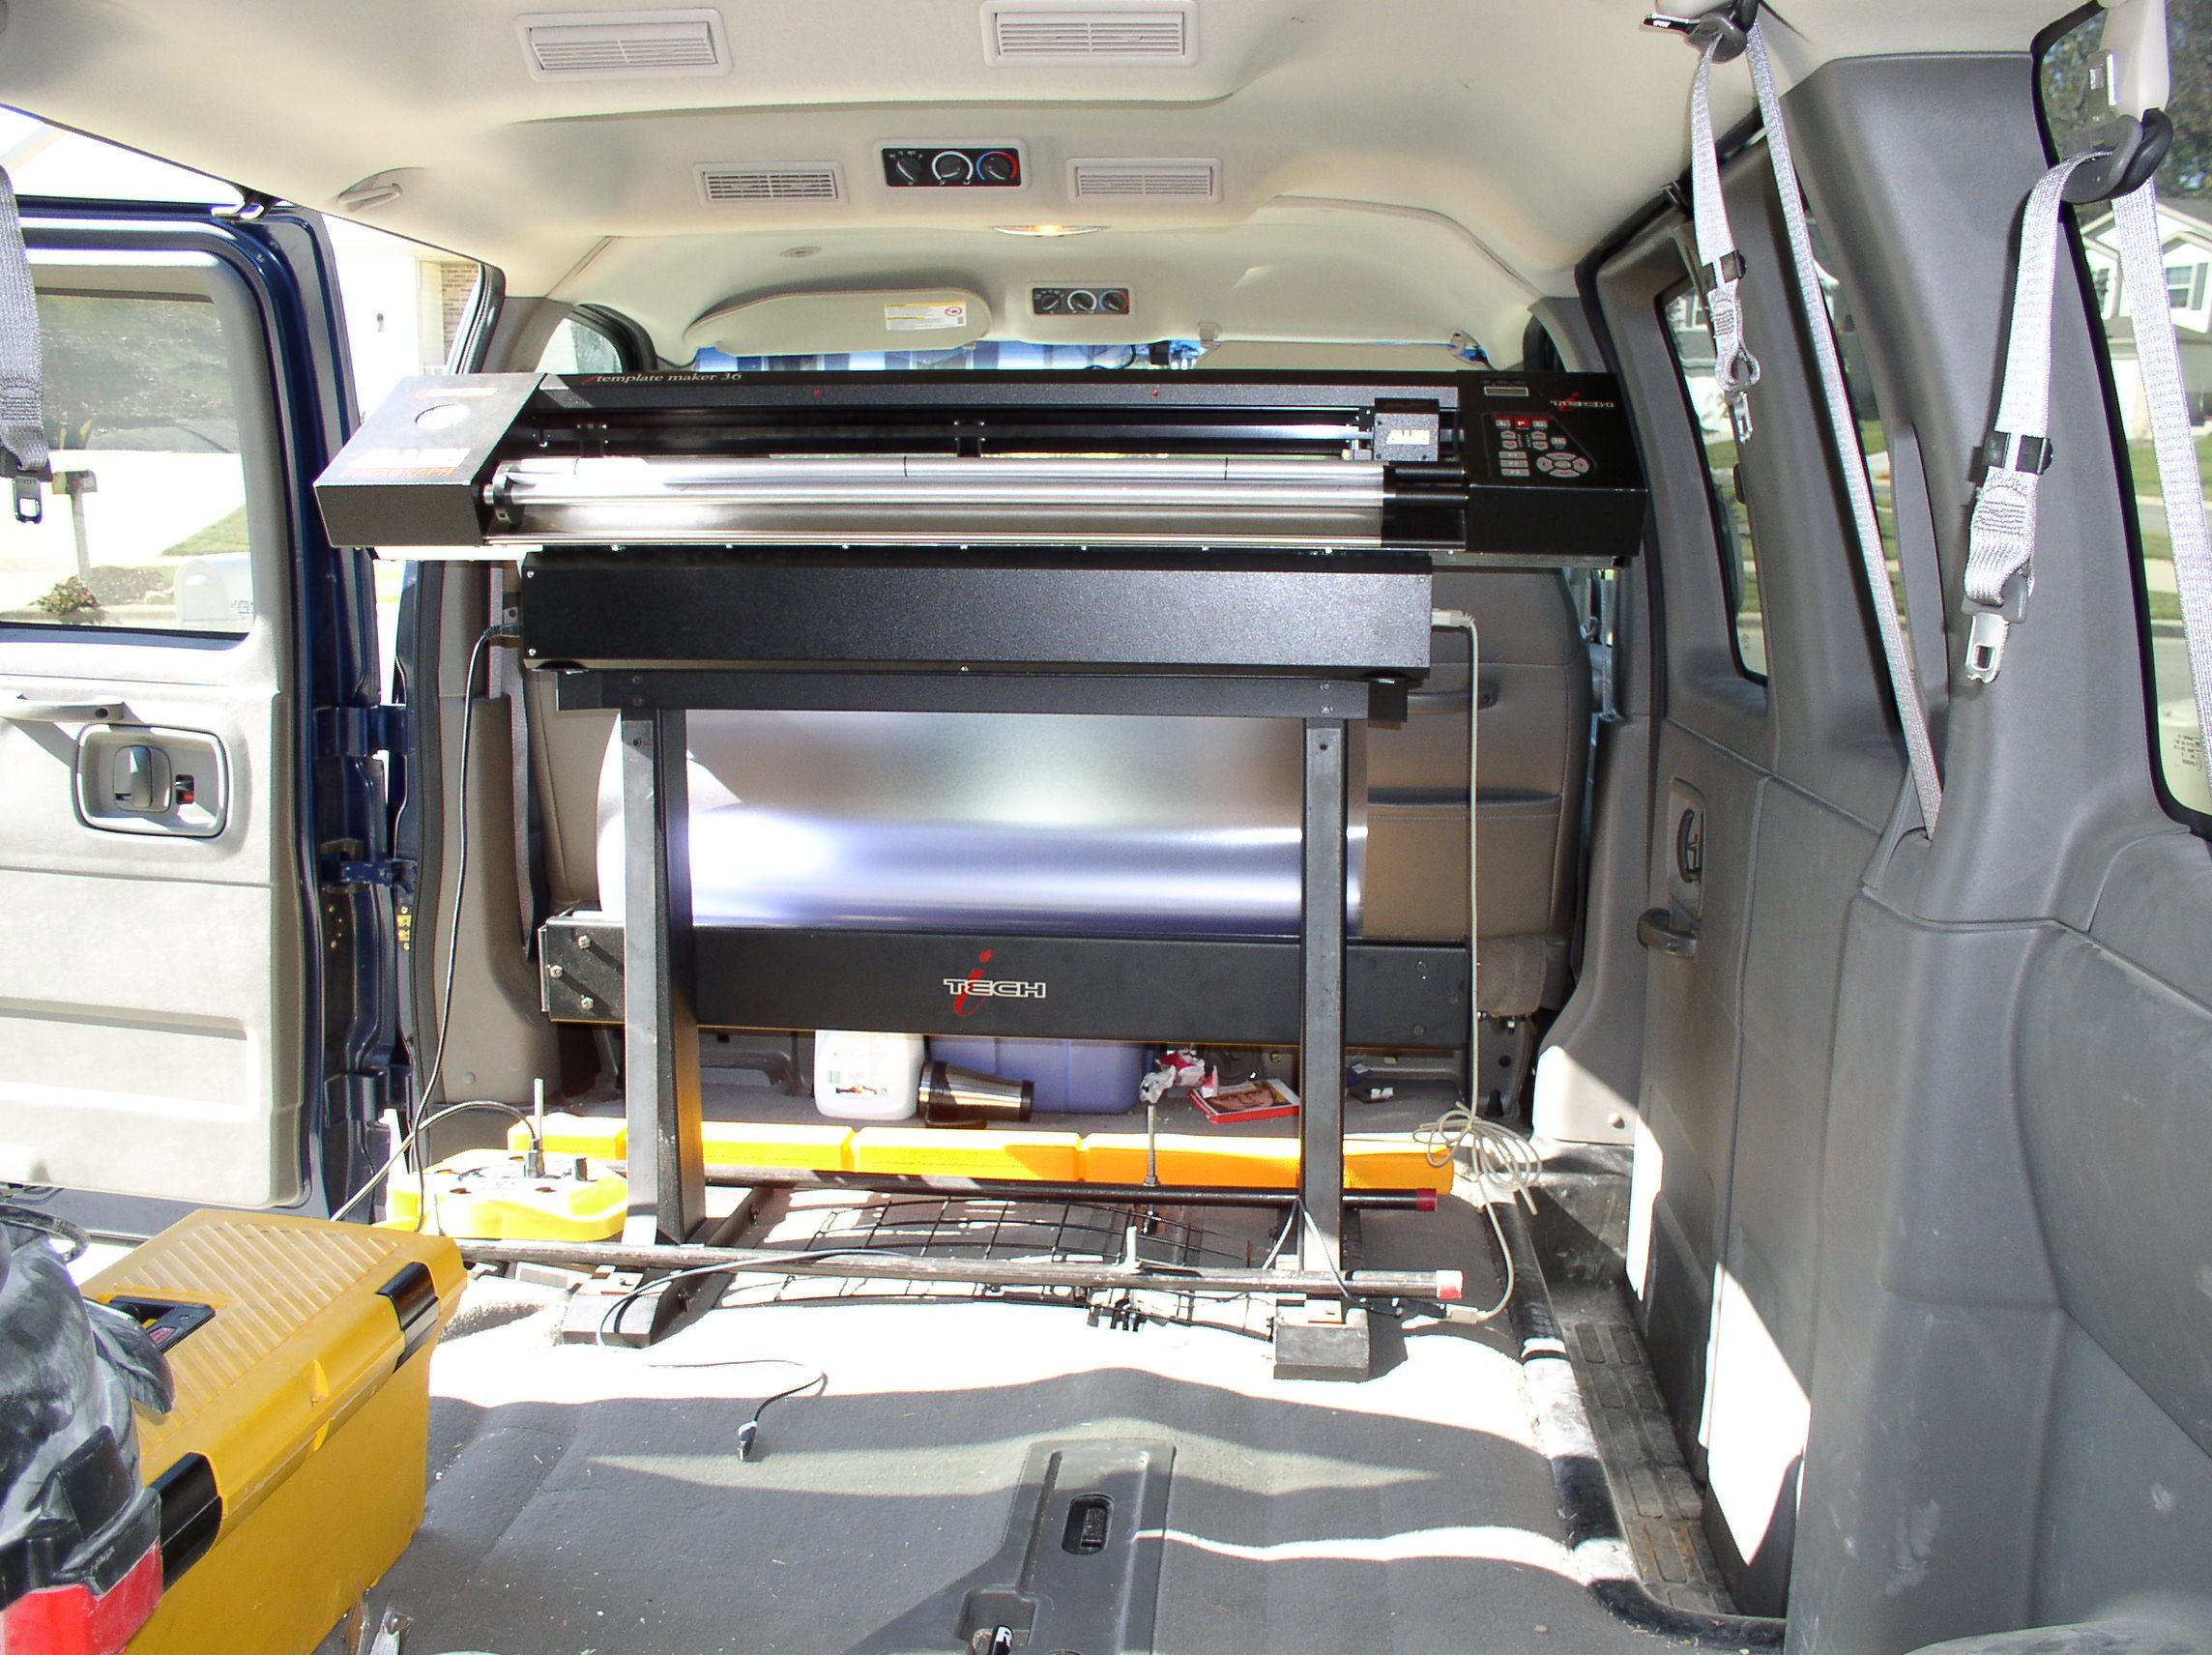
I sound really old when I tell people about photo templates in the early days, like walking to school and back home going uphill both ways.
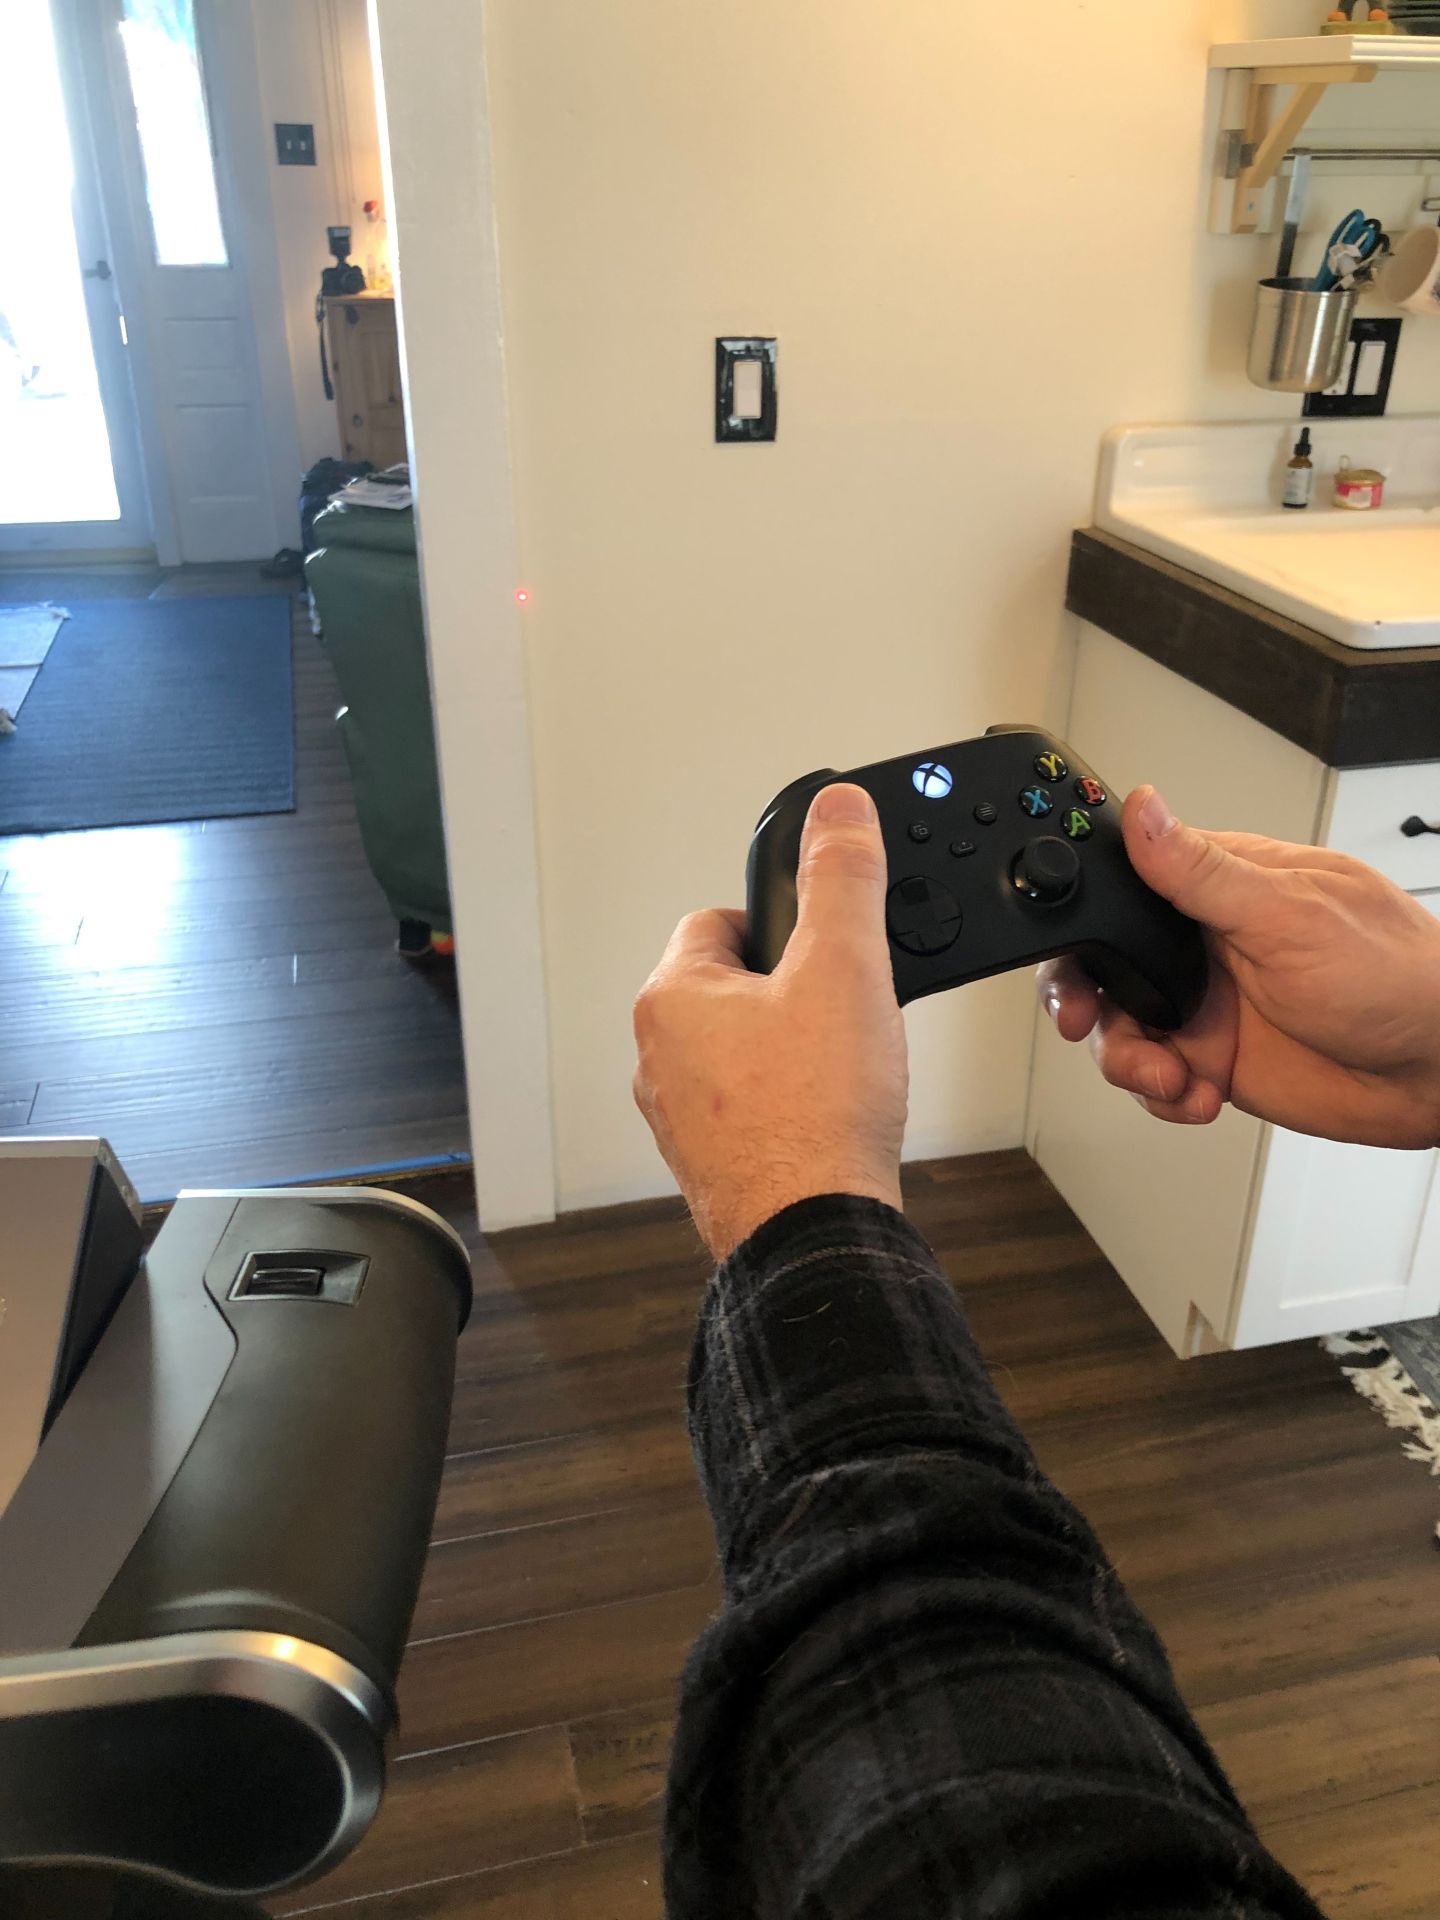
Set-up of new laser-measuring systems is quick and easy, with commands set by a familiar controller. Being able to work in a game on Xbox during lunchtime can be a bonus.
We’d digitally templated enough projects that we knew the measurements were going to be right without a Mylar template to verify. A few quick validations with a tape measure, and I was confident the countertops were going to fit. Not having to plot out Mylar templates was a huge savings in both time and money. The drawing process was trial and error. Looking back, a more in-depth education in CAD would’ve served me well. In the early days, the most challenging drawings I had to complete were for the Cambria fabrication shops. Their rule was that drawings could be rejected if they were not in the right format, but the CAD guys in their office could not adapt the drawings for you or coach you on how to do it (presumably because they didn’t want any liability.) Luckily, one of their CAD techs was more-helpful and coached me through some of the more-difficult drawing aspects that were expected to be included in their drawings. As a result of his rule-bending, I was able to complete many more Cambria projects that I probably otherwise would have, so it was beneficial for both sides. I ended up using both the ETemplate and PhotoTop photo-templating systems. Both worked well when the systems received good photographs. (Good data in, good data out.) Only one time in five years did we get incorrect results, relying on edge marker dots that were simply too far away from the camera. The longest single countertop we measured was 33’ long and our measurement was within 1/16”. But technology progresses and improves, and we have emerged into the era of laser measuring technology that is more-efficient than the photogrammetry. With my newest measuring device (a Flexijet), the set-up time is minimal –attach the unit to the tripod and it self-levels on most surfaces. The laser head can be controlled manually or with an Xbox controller, allowing the operator to adjust targets at the point of measurement – and then play Skyrim™ on lunch break. The system takes a photo of every laser point in the measure. It’s photo-documentation of cabinet layout that comes in so handy on the rare-but-painful occasion when cabinets are moved after the measure. The measurements feed into a single software package, with a CAD drawing platform that is intuitive for the CAD experienced. The system can even show the operator where the countertop overhangs will be on a wall – a kind of digital double-check normally done with the tape measure. The only downside for today’s digital measuring- the ‘wow’ factor from the customer is gone. Everyone has seen enough HGTV that laser templating is not new. And I sound really old when I tell people about the work required for a photo template in the early days, like walking to school and back home going uphill both ways. Sadly, or perhaps not, I was not present when the Amish trio returned to see the countertops installed and fitting perfectly. The digital snake oil salesman in me would have loved to witness their reaction. There’s a second concept in the Amish religion called Demut, or humility, which I would have been wise to follow had we been together for the installation. After all, a software system I didn’t create was largely responsible for a successful install. The countertops fit, the customers were happy, and that should have been enough.