Know Your Angle
Mitering's the norm for thin-sheet surfaces. Pay attention to your tooling.
YouTube capture courtesy Cosentino Group
By K. Schipper
Call it what you will -- sintered, ultra-compact, porcelain slab – thin slabs leave a lot of fabricators scratching their heads and skeptically eyeing their equipment when it comes to edging.
With slabs down to a thickness of 0.6 cm (or even less), there’s simply no way to shape an edge, so there’s one basic answer: mitering. And, because of its thin size, these slabs also come with plenty of flex.
Waterjets are getting a big push in fabricating these slabs, but that’s not to say they’re the only piece of shop equipment that can do the job successfully. Not only are CNCs an option, but even multi-head edging machines can do the job. Of course, there are plenty of manual options for making the 45° cuts.
To make a great mitered edge, though, one thing remains constant: Pay attention to tooling and setup.
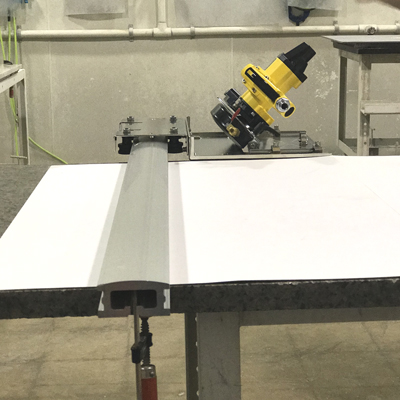
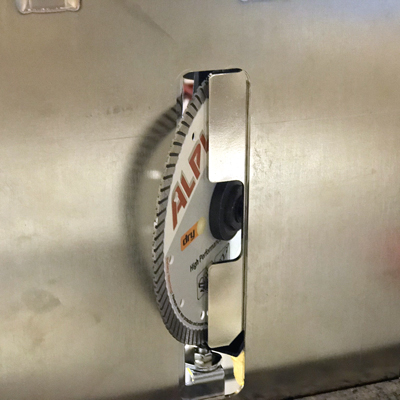
Getting a straight, smooth miter cut with a manual system involves a fixed-position saw and a rail system. With Alpha's setup, saw and blade are at a 45° angle, and the rail clamped to the material for stability. (Photos courtesy Alpha Professional Tools®)
A MATTER OF STABLITY
There isn’t much of agreement on how these new materials handle. While some equipment suppliers say the different varieties are similar enough to share general working parameters, another claims each is different enough to be treated individually.
However, one point of agreement is expressed by Nao Takahashi of Oakland, N.J.-based Alpha Professional Tools®: “You should follow the working parameters of your tool suppliers to be able to fabricate well.”
The other key, Takahashi says, is to keep the slab flat while working on it, which isn’t necessarily easy when a slab may be as thin as 0.4 cm and have a lot of flex.
Ben Harris, sales manager of AccuGlide Saws in Atascadero, Calif., says that’s where his manual saws have a distinct advantage over some bridge saws.
“Because the saw sits directly on top of the stone, that weight and friction provide stabilization through the rails and the blade and the rigidity of the carriage system itself,” Harris says. “With those thinner materials, you can get a really clean cut.”
However, when it comes to mitering, he says there are limitations. While an AccuGlide saw can do a miter cut, he doesn’t recommend trying it with any material thinner than 1.2 cm (approximately ½”).
For anything that size or larger, Harris recommends a two-step process that begins with cutting both the countertop and the fascia strips at 90° first, then mitering.
“At that point, you treat mitering as a profiling operation, even though you’re cutting it,” he explains, adding that the secret to success is utilizing a miter attachment that sets the saw at 45° for that second process.
“If you have a 26” countertop and a 2” skirt, you cut the 2” skirts first, prior to mitering,” Harris says. “This is particularly important for edge bookmatching. You also get a much-cleaner cut with less chipping and less blowouts than if you were to initially break the surface at 45°.”
And, he adds, it’s also more likely to get a straight cut.
Still, chipping can be a problem. To further reduce that, Harris says the secret is to use the smallest blade possible, and – echoing Takahashi’s advice – make sure the blade is designed for that specific material, whether it’s sintered or compact.
“Each may vary in terms of diamond concentration, so the right blade is key,” he says. “Otherwise the chipping can be fairly heavy.”
Even if the fabricator can get the material clamped and stabilized with the right sawing system, Harris estimates a good production speed may be only a third as fast as cutting a quartz-surfaces slab.
“A fabricator needs to make sure they’re charging the customer a premium so they can still be profitable,” he concludes.
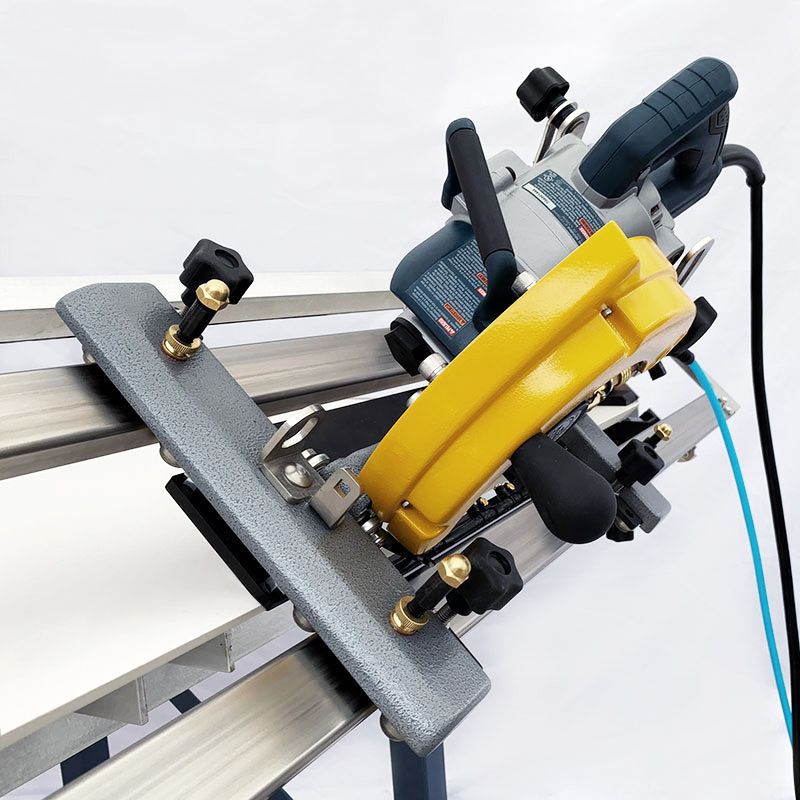
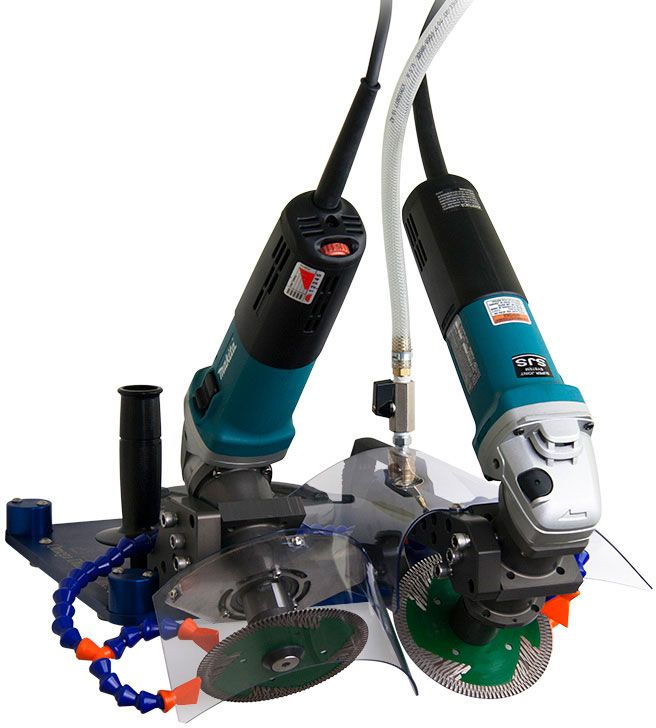
(Above) AccuGlide puts the rail at an angle and keeps it off the material; the company doesn't recommend cutting anything thinner than 1.2 cm. (Below) Omega Diamond designed a special porcelain-panel version of its Blue Ripper Miter Master to make two 45° cut simultaneously; the unit travels on rails not shown here. (Photos courtesy AccuGlide Saws, Omega Diamond Inc.)
Manual miter cutting is more than just a couple of passes with the saw. For more information, check out either of these detailed presentations from Alpha Processional Tools® or AccuGlide Saws.
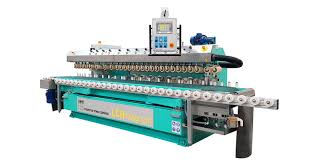
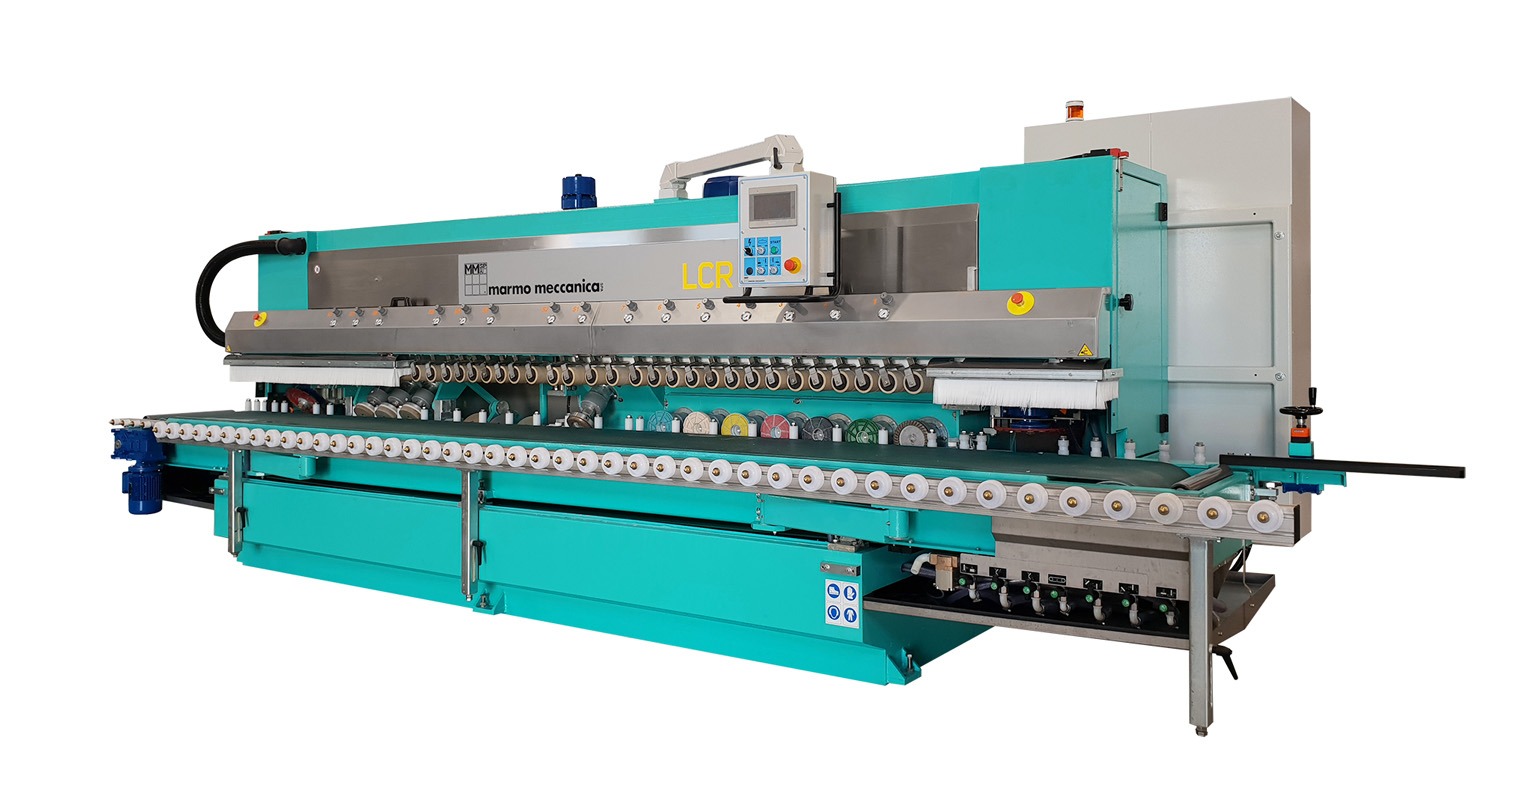
Marmo Meccanica's LCH (above) and LCR (below) edge polishers can handle miters for materials as thin as .4cm with a diamond wheel. (Photos courtesy Marmo Meccanica NA)
GRINDING OUT AN ANSWER
While cutting a beveled edge for laminating is one possibility, Alpha Tools’ Takahashi says miter grinding is still another.
“Particularly for thin porcelain panel applications, we recommend using a grinding option, since you can take advantage of changing the wheels with different mesh sizes by two or three steps,” he says. “That leaves a finer finish and the edge quality is cleaner.”
Steve Collick of Pontiac, Mich.-based Marmo Meccanica NA, agrees that using an in-line edge polisher is a great option for cutting mitered edges on thin panels down to 0.4 cm.
He adds that the Marmo Meccanica answer is simple because its horizontal polishers are multi-functional. While the machine can not only be utilized for flat polishing (and in some cases other edges) it can also perform the miter process on thin panels.
Both the company’s LCH and LCR allow for miter processing utilizing a special diamond wheel for thin panels from .4 cm- to 2 cm, and miter processing with a blade for 2 cm - 3 cm material.
The first part of the polishing process is shut off and replaced with an outgoing beveller that Collick estimates takes about 90% of the material off in the initial process.
The slab then continues to move forward to where the newly cut surface is finished with a 130 mm continuous-rim tool for final process.
“You have a throughput machine, so the mitering is continuous,” he says.
Collick adds that one of the best advantages to this process is that the rollers are holding down the material, eliminating vibration, which means straighter cuts and less chance for marring or chipping.
“Marmo Meccanica has also introduced a ‘short bench’ system which brings the rollers closer to the vertical supports,” Collick says. “That way, you can miter and flat polish very small strips, as well as full-sized slabs, while eliminating vibration to ensure a smooth miter.”
Collick says the other key to success when mitering material with an in-line edging machine is the appropriate use of water.
“Water is key to keeping the tools from overheating, which can cause other issues in terms of chipping, and also premature wearing of the diamond tool,” he says.
Speeds will vary depending on the type of diamond tooling applied to the machine. Utilizing the appropriate style of tool for the type of material is important to ensure success in miter process, Collick says.
Operator skill also can play a role in the speed of the process, but Marmo Meccanica’s own studies show approximate 130 linear-feet-per-hour is a good average processing time for mitering these materials.
"You have a throughput machine, so mitering is continuous."
Steve Collick
Marmo Meccanica North America
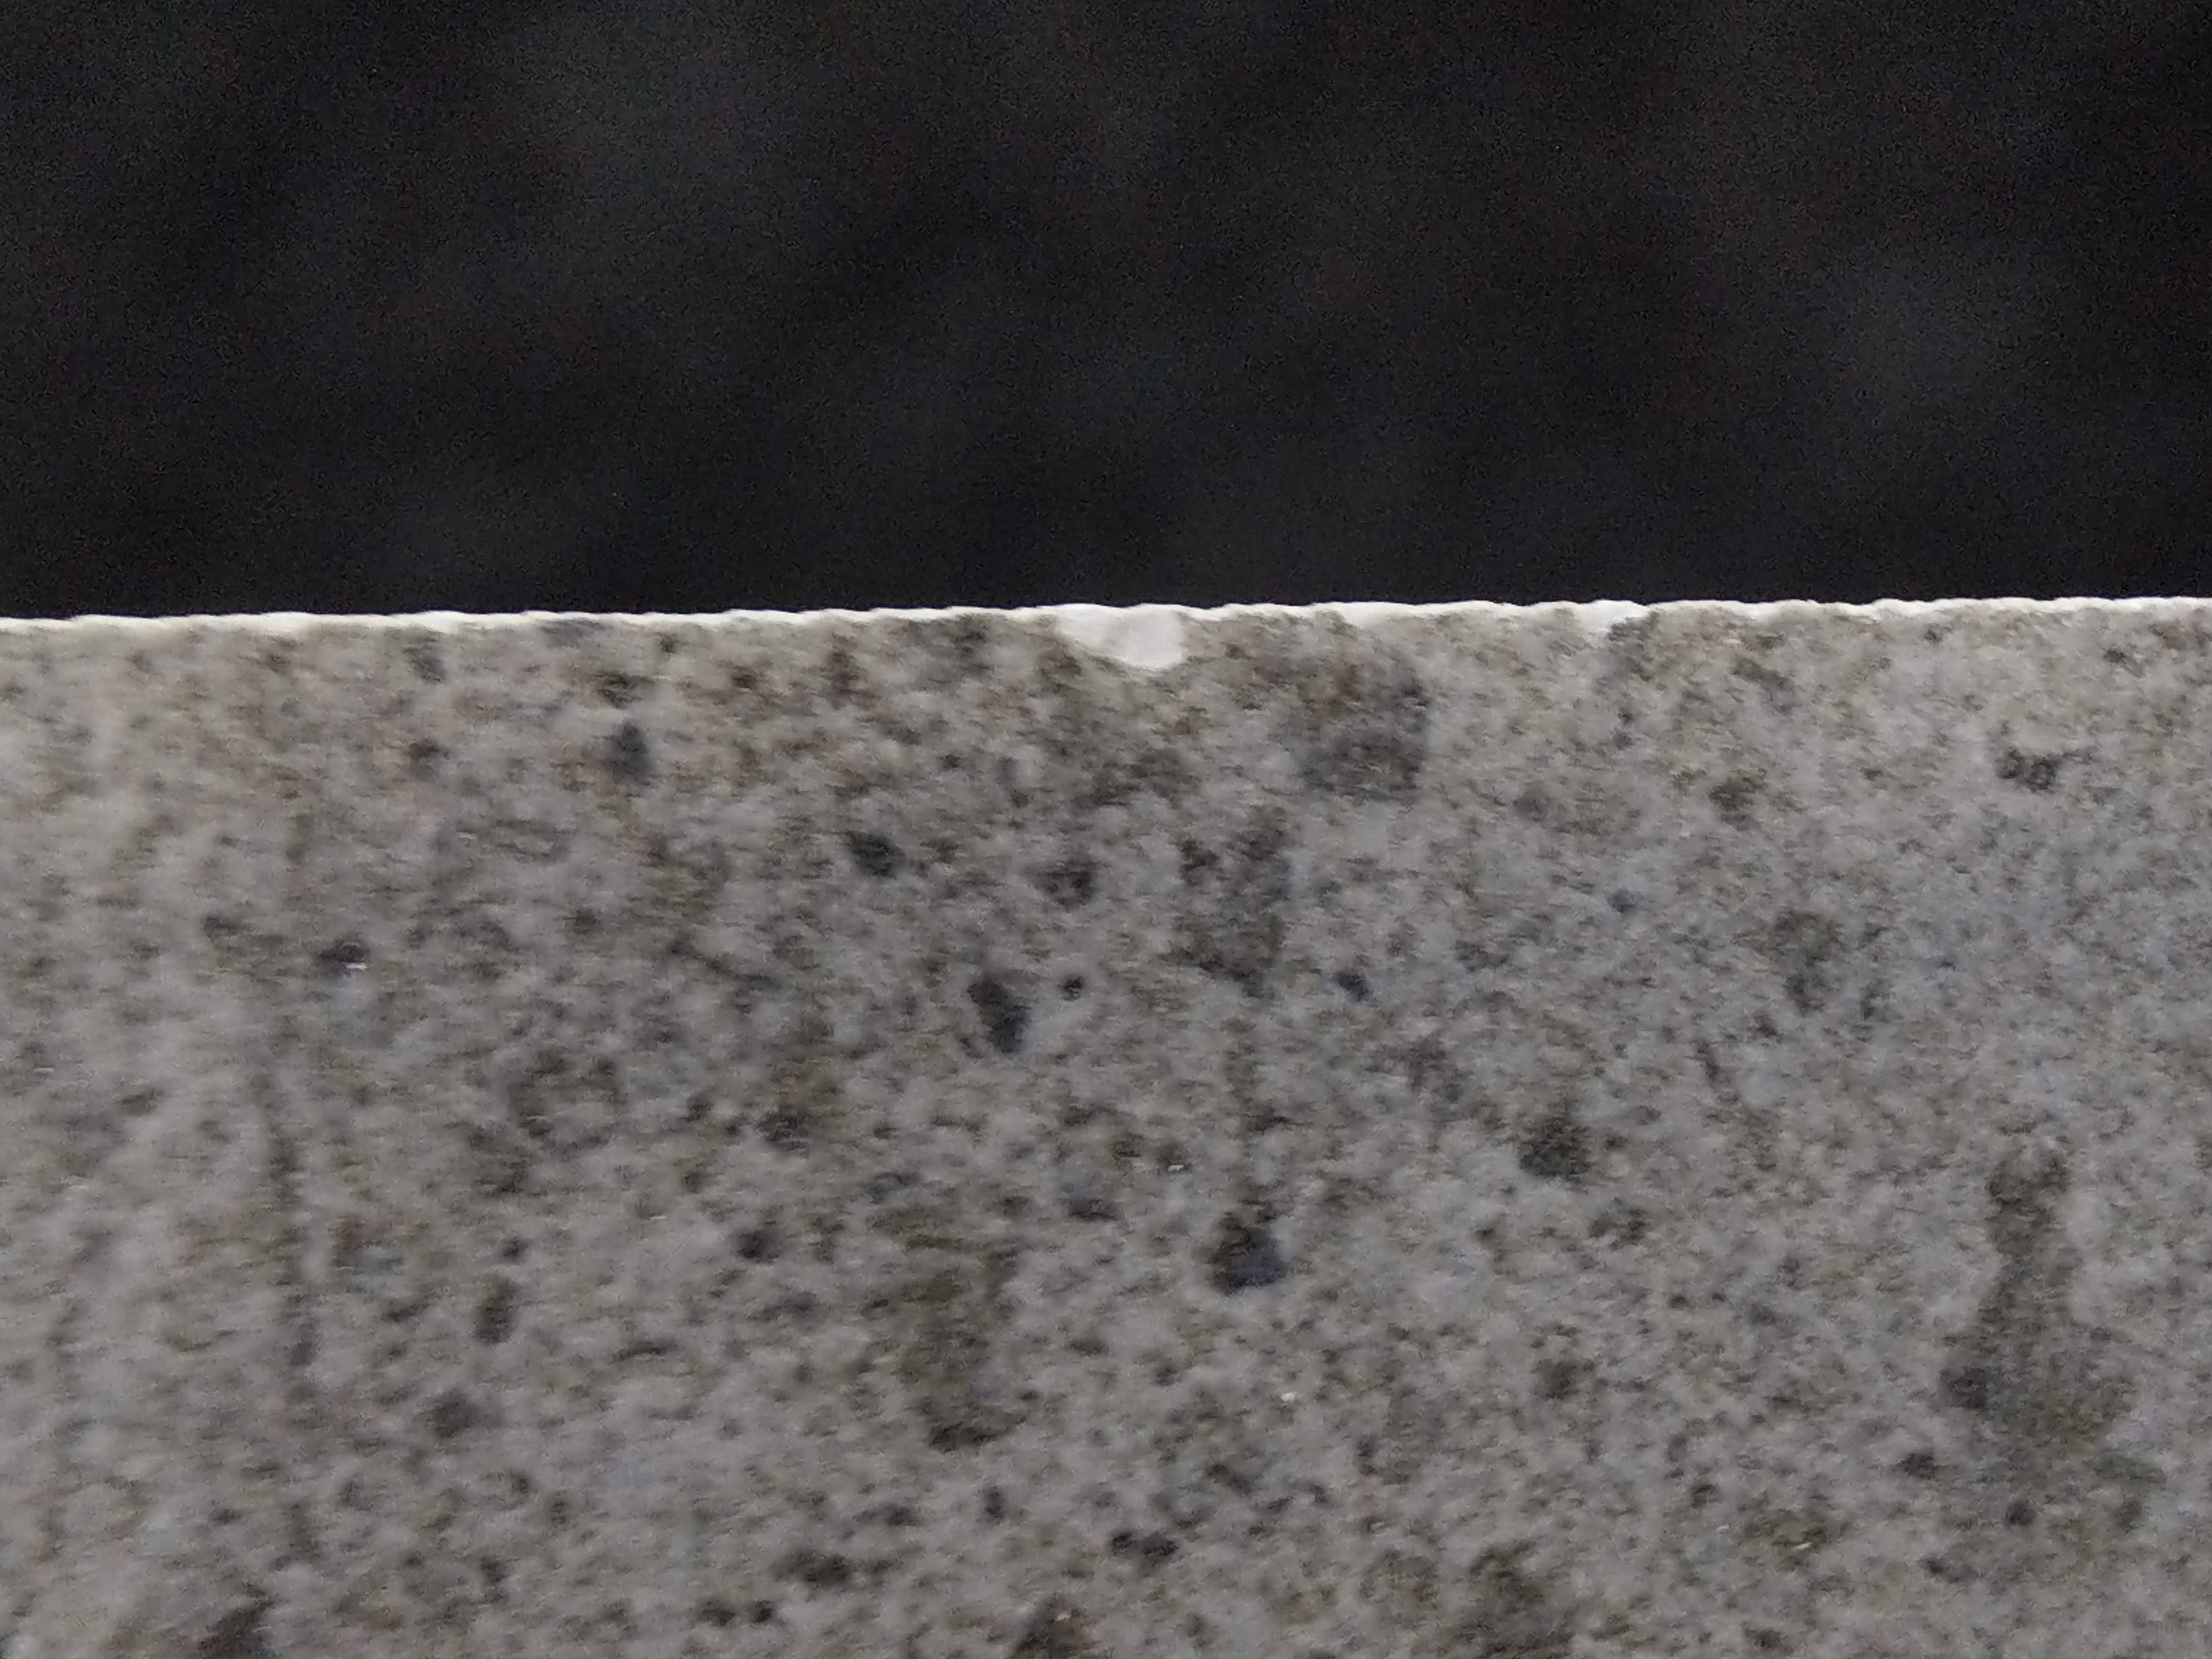
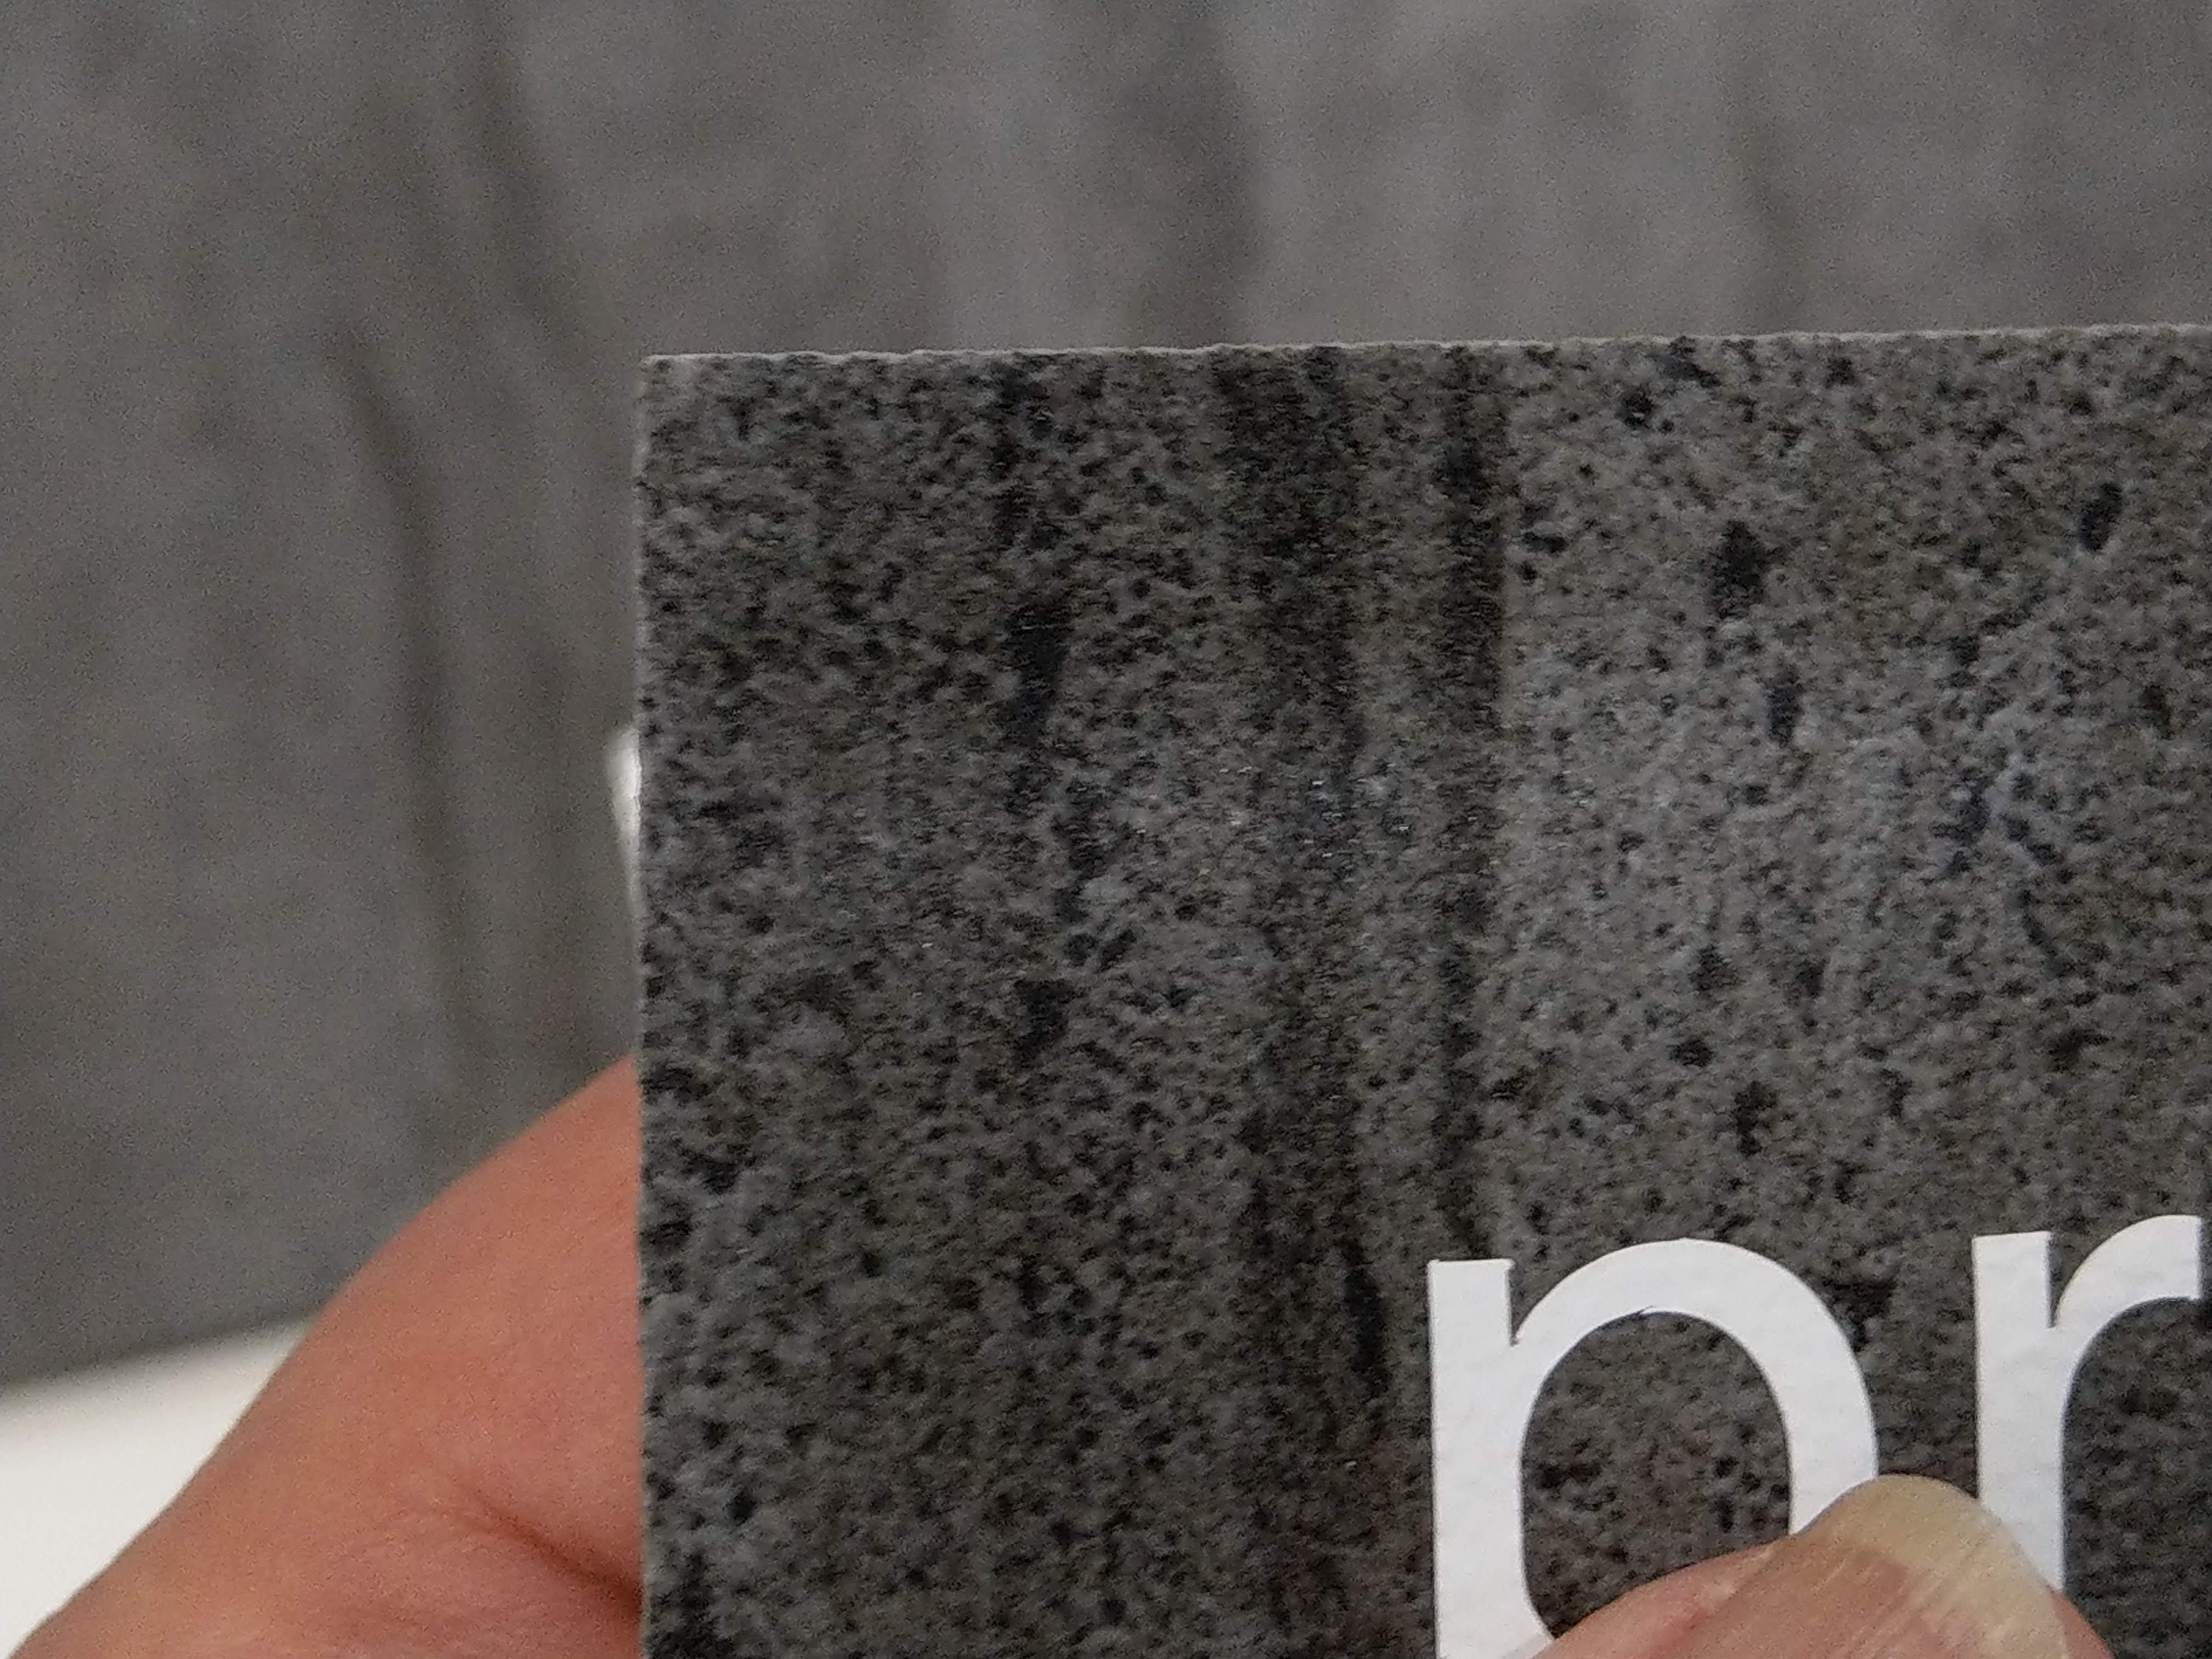
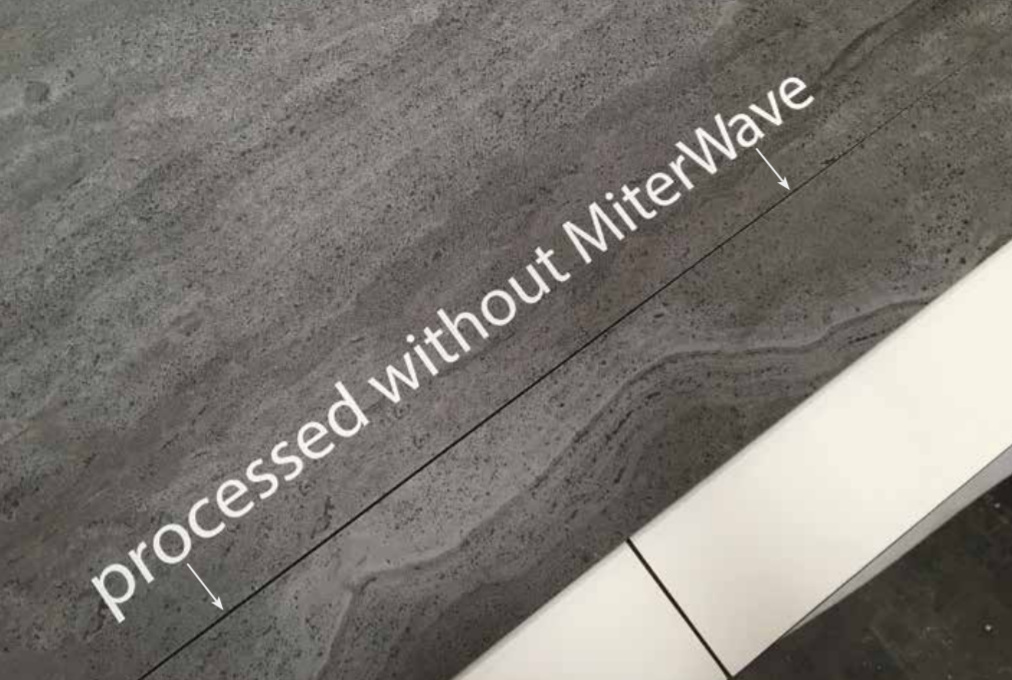
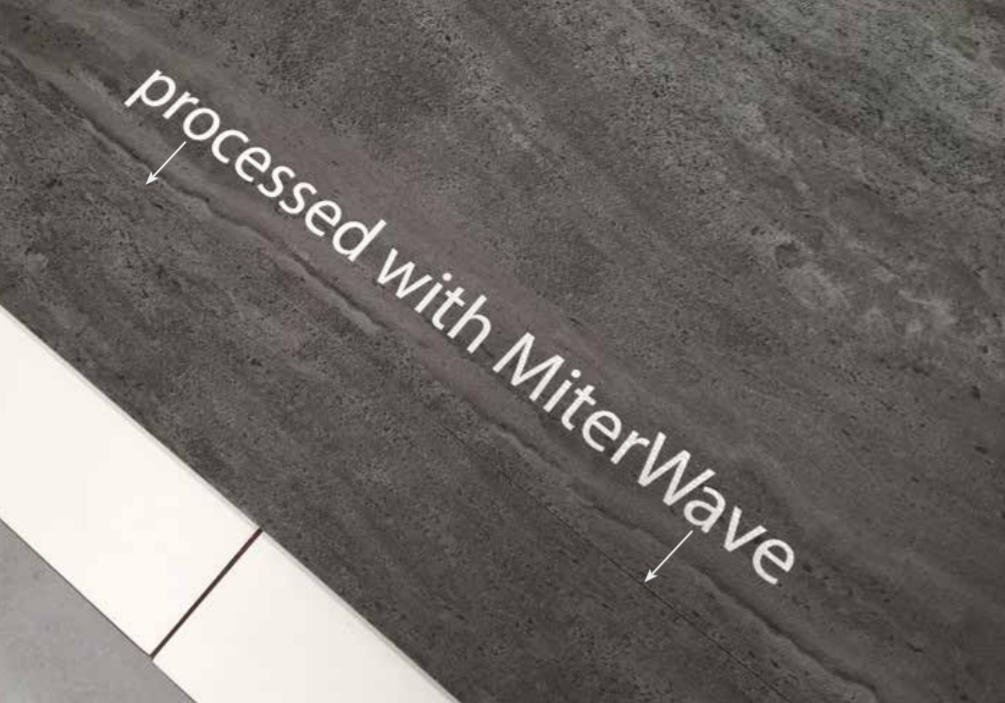
Breton S.p.a.'s Miterwave smooths out thin-sheet chipping problemsthe photos above show edges cut without, and then with, the technology. The bottom photos illustrate MiterWave's tigher tolerance in cutting. (Photos by Emerson Schwartzkopf)
KEEP IT SHARP
When it comes to the big boys of cutting miters for these thin slabs, of course, a waterjet or CNC can provide the power. But, getting it right can still be a little tricky. And, the best results come from paying attention to the details.
Egon Hinss, national sales manager at Sarasota, Fla.-based Breton USA, says the company is quite experienced with the newer materials, in part because of its sister company Lapitec® manufacturing 2 -cm and 3-cm sintered material.
Hinss says with Breton’s Combicut CNC and waterjet, a big step forward has been its development of a system called Miterwave.
“It’s a software and hardware solution,” he explains. “It’s great for thin materials, because it uses a laser to scan the top of the slab. It takes a lot more points into account, and when you cut the miter, it effectively follows the topography of the slab. If there’s flex or it’s not 100% gauged flat, you still end up with perfect cuts.”
The Breton system also allows the operator to save specific cutting parameters for each material, such as slowing down at the beginning and end of the cut and moving faster through the middle.
While it isn’t necessarily specific to Breton machines, Hinss says because most of these slabs arrive at a tilted angle or a vertical angle for shipping, being able to tilt the table up for loading will help reduce the amount of flex in a given piece and making loading a little easier.
His other piece of advice – whether you’re cutting with a blade or water – is keep it sharp. For a CNC blade, he recommends running periodic sharpening cycles on the blade and says experience should tell how many linear feet can be cut before the need to sharpen arises.
The same applies to waterjet cutting of these miters.
“You can do that by making sure the focusing tube and the orifice – the ruby or diamond orifice – is not worn so you have a very focused jet stream,” Hinss says.
He notes that the Breton machines utilize a system that uses a metered garnet feed to further allow the water to be sharp enough and precise enough to do the job.
Although Hinss is confident that the Combicut can take on any material in any thickness, he does urge some caution.
“The material you want to stay away from is one that doesn’t have a good company behind it,” he says. “Any company supplying material should be giving you the information on how to properly work it or cut it. If there’s a material out there you’re not familiar with and you can’t get information on it, be prepared for some mistakes.”
Start with the slab supplier, Hinss advises, and then talk to your equipment manufacturer,
“Ask them for any strategies,” he observes. “Maybe there’s an option you can add to a piece of equipment you already own. And, talk to your tooling company,”
The main ingredient in successfully cutting any of these new materials is patience, he says – and training.
“It absolutely requires a lot of training,” Hinss says. “With the right training, these materials won’t be an issue in the future, but certainly there’s a learning curve now, and the tooling has to catch up. We’re getting systems out there able to cut this, but it takes awhile.”

"If there’s a material out there you’re not familiar with and you can’t get information on it, be prepared for some mistakes"
Egon Hinss
Breton USA